- Camtasia
- Canvas
- Course Information Matrix
- Lecture Capture
- ORCID
- Qualtrics
- Student Tracking and Advising
- Zoom

HPC Grid Tutorial: How to Setup Globus
This article will walk you through creating a Globus account and connecting to the Grid using the Globus share. Additional tutorials can be found here.
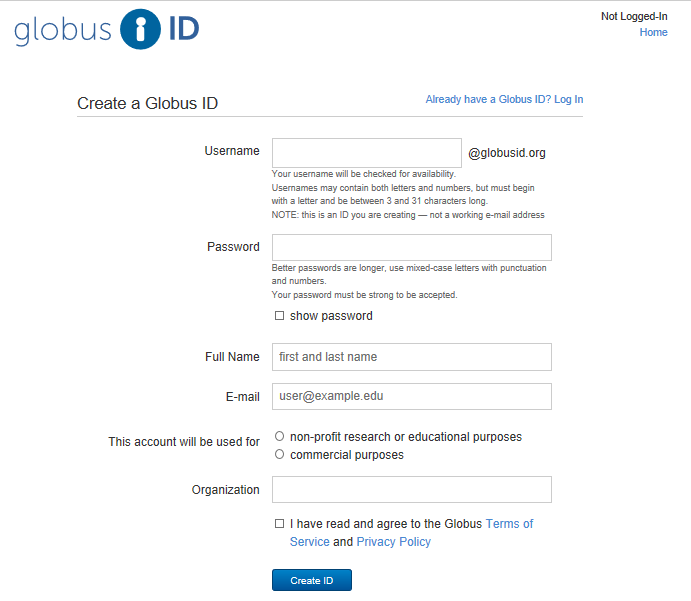
1. Create a Globus account. Instead of using your organizational login, create a Globus ID here.
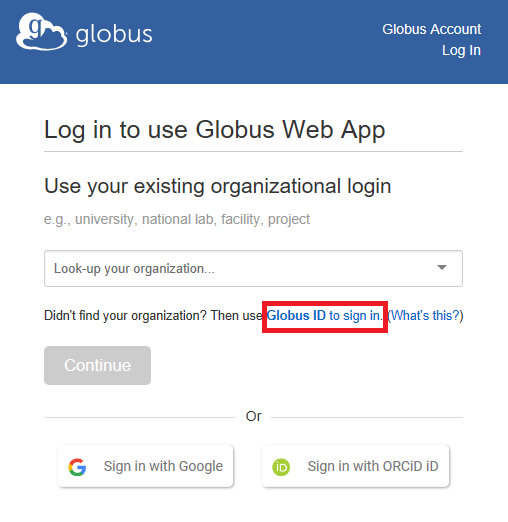
2. Visit the Globus website and click login in the top right corner.

3. Click the link to sign in using your Globus ID and enter your login credentials.
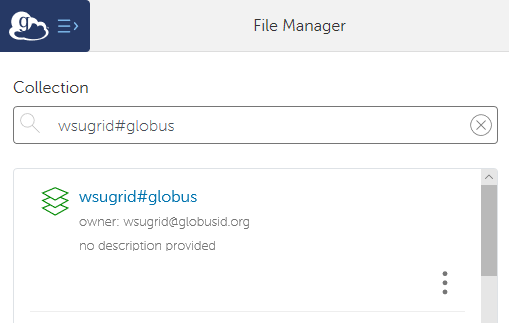
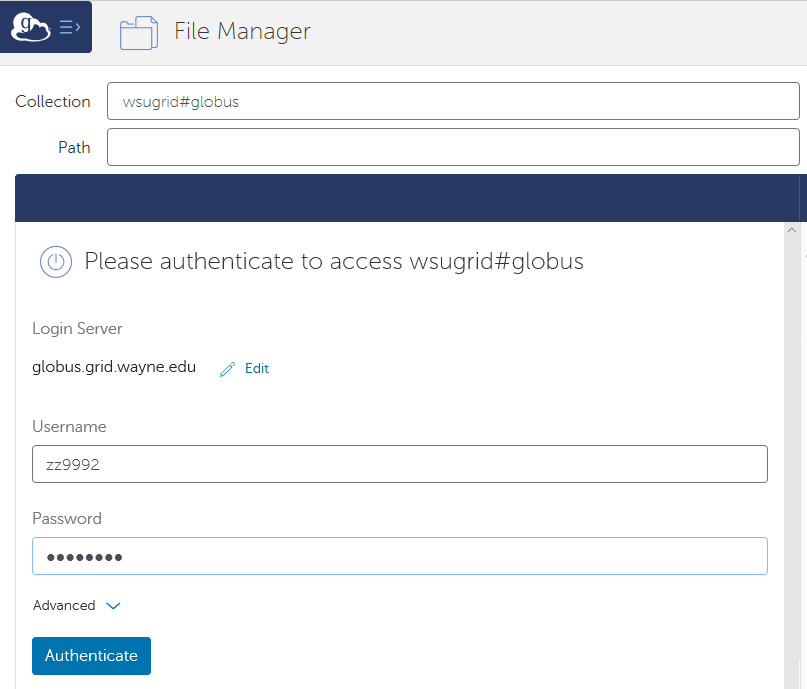
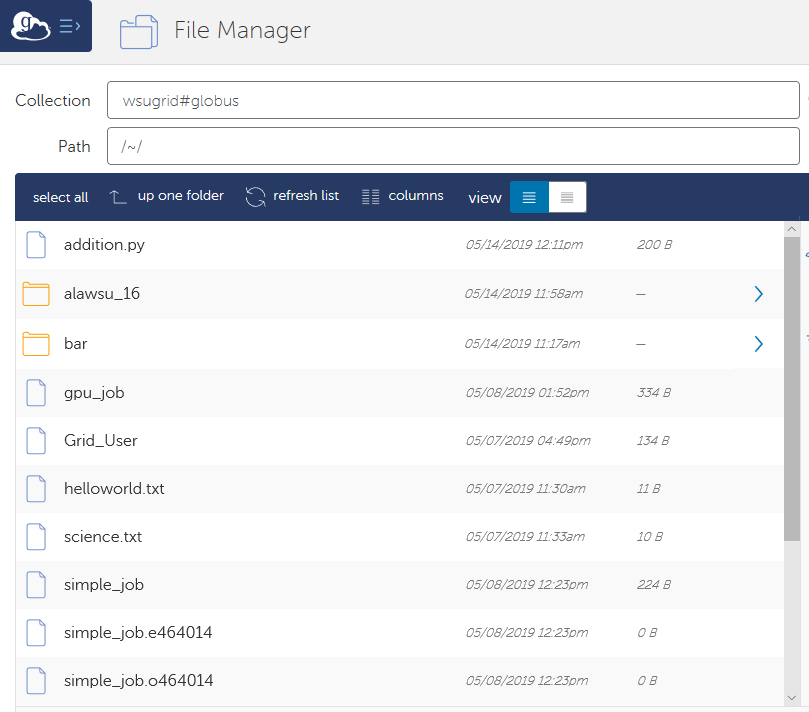
4. Type wsugrid#globus in the Collection search bar and select wsugrid#globus from the search result.
5. Enter the same login credentials you use when logging into the Grid (this is normally your WSU AccessID) and click Authenticate.
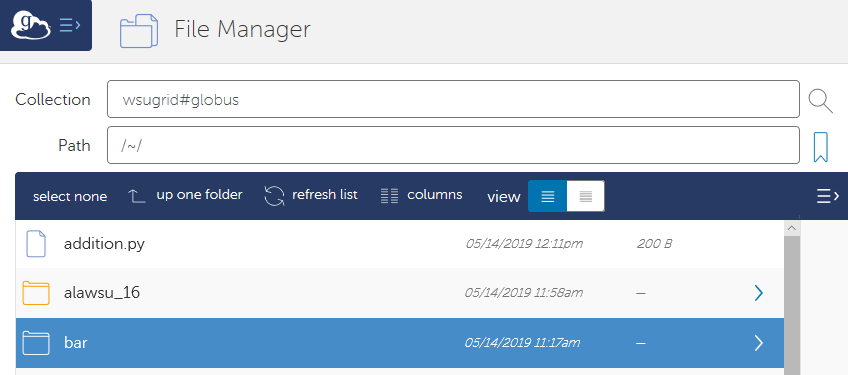
6. For this tutorial, we will select the file called "bar," which will be highlighted once it has been selected. Multiple files can be selected by simply clicking on the files.
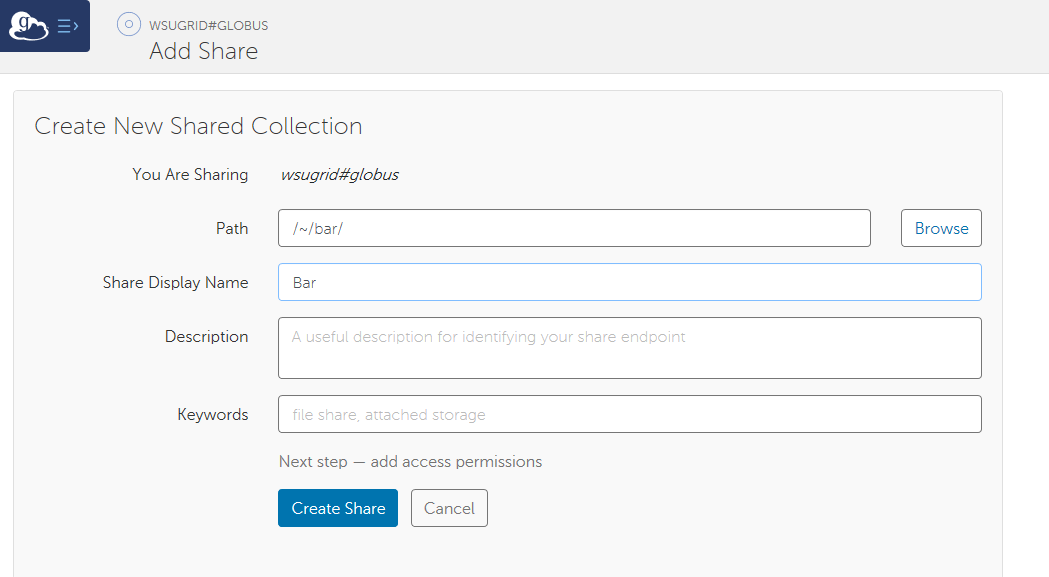
7. Click the three horizontal lines on the top right and click share on the right command pane.
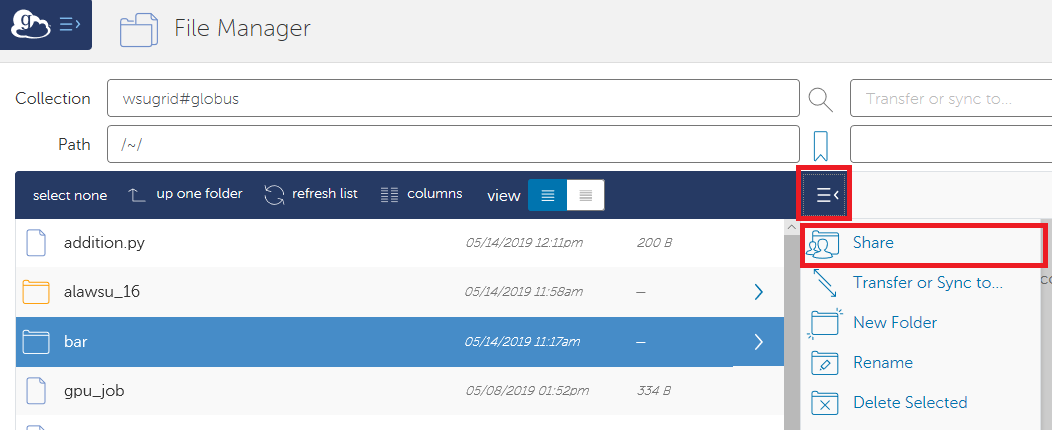
- Enter a 'Share Display Name', then click Create Share.
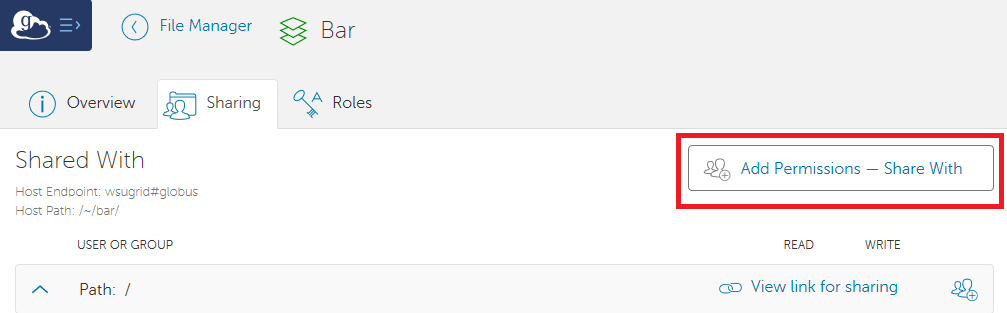
8. Click Add Permissions - Share With.
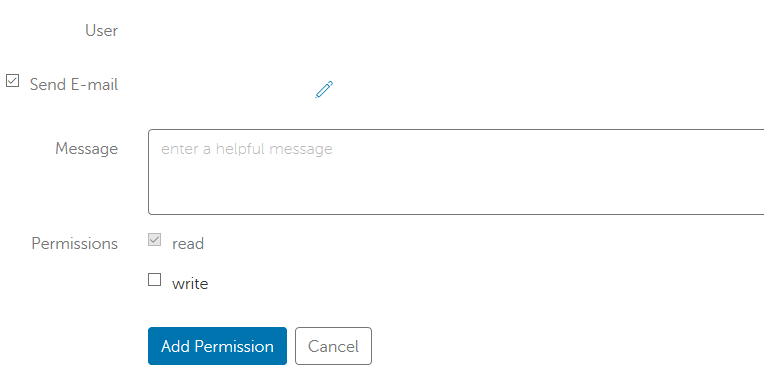
- Enter the Globus username or the email associated with a Globus account of the person you wish to share this data with and click Add.
- Data access is only available to those who have Globus accounts. For those who do not have accounts, please refer to steps 1-3.
NOTE: Do NOT select 'write' unless you are positive that you want the user to be able to make changes to the data.
- The user will receive an email similar to this:
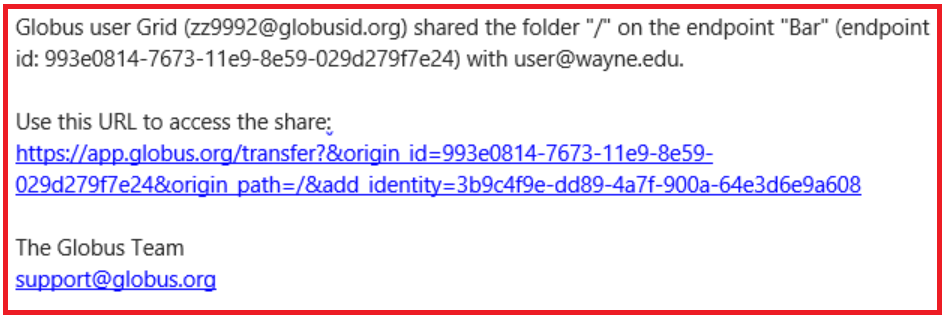
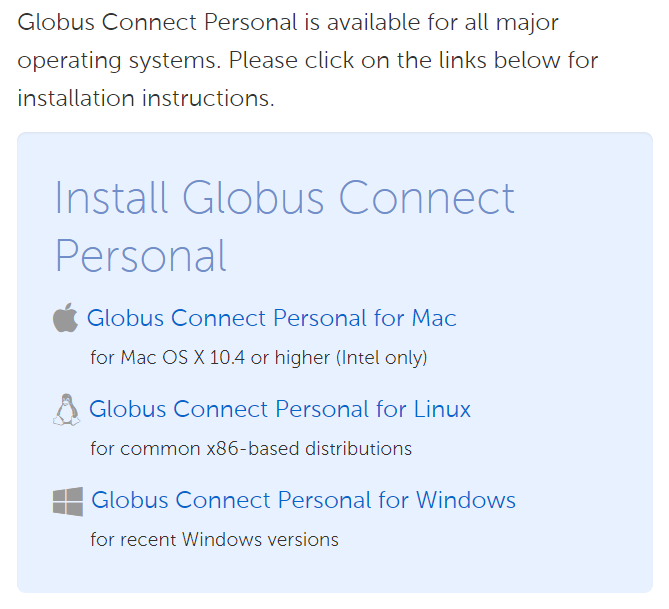
9. The user can now access the data and transfer the files. They will need to install "Globus Connect Personal" to transfer files to their local system, which can be downloaded here.
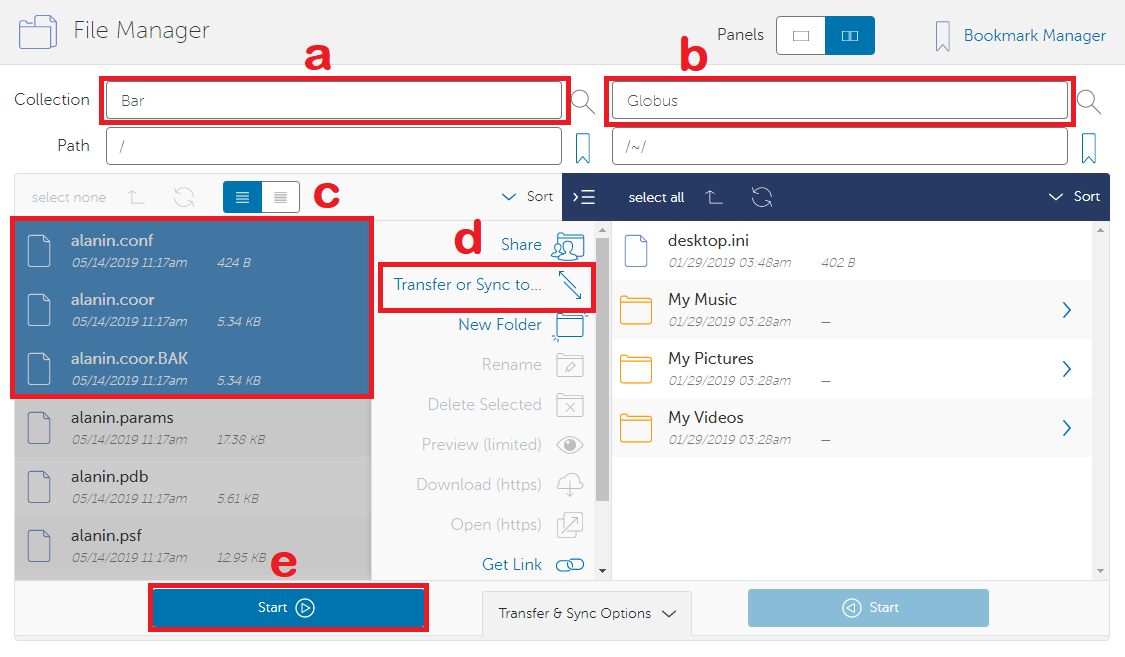
10. Transfer the files.
a. Select the endpoint to transfer files from.
b. Select the endpoint to transfer files to.
c. Select the data to be transferred.
d. Select Transfer or Sync to..
e. Click Start to the initiate the transfer.