How do I self-sign a document in Dropbox Sign?
Follow the steps below to self-sign a document in Dropbox Sign.
- Navigate to https://login.wayne.edu/?destination_url=https://app.hellosign.com and enter your AccessID and password to login to Dropbox Sign.
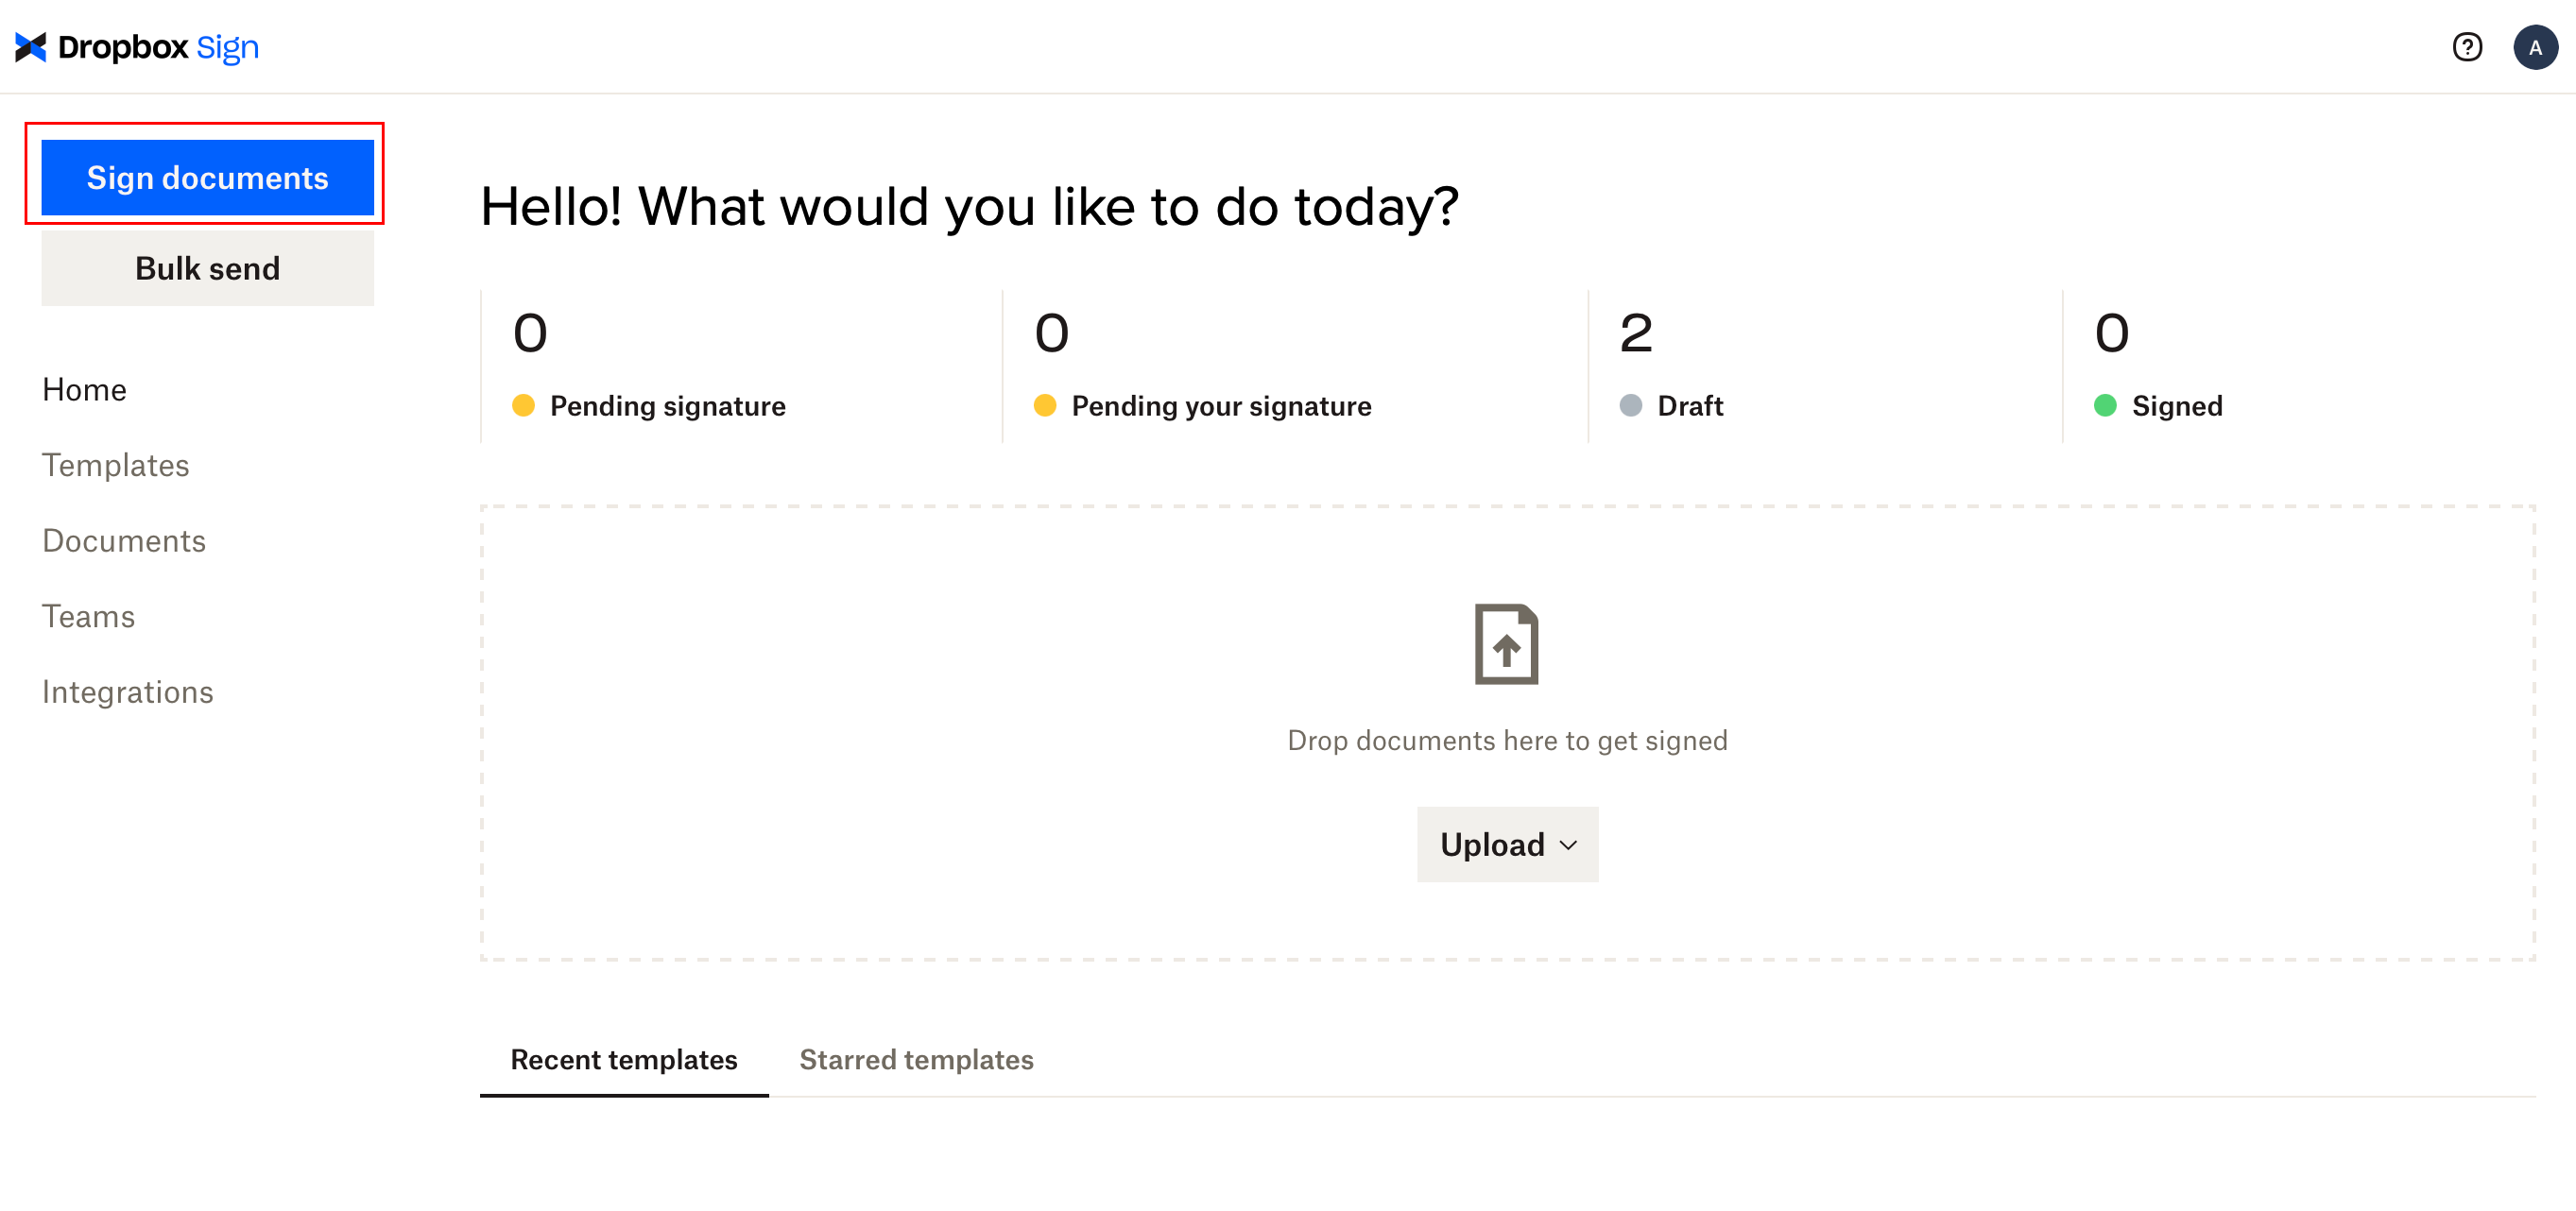
- Click on Sign documents on the left-hand side of the page.
- Select the file(s) you’d like to sign.
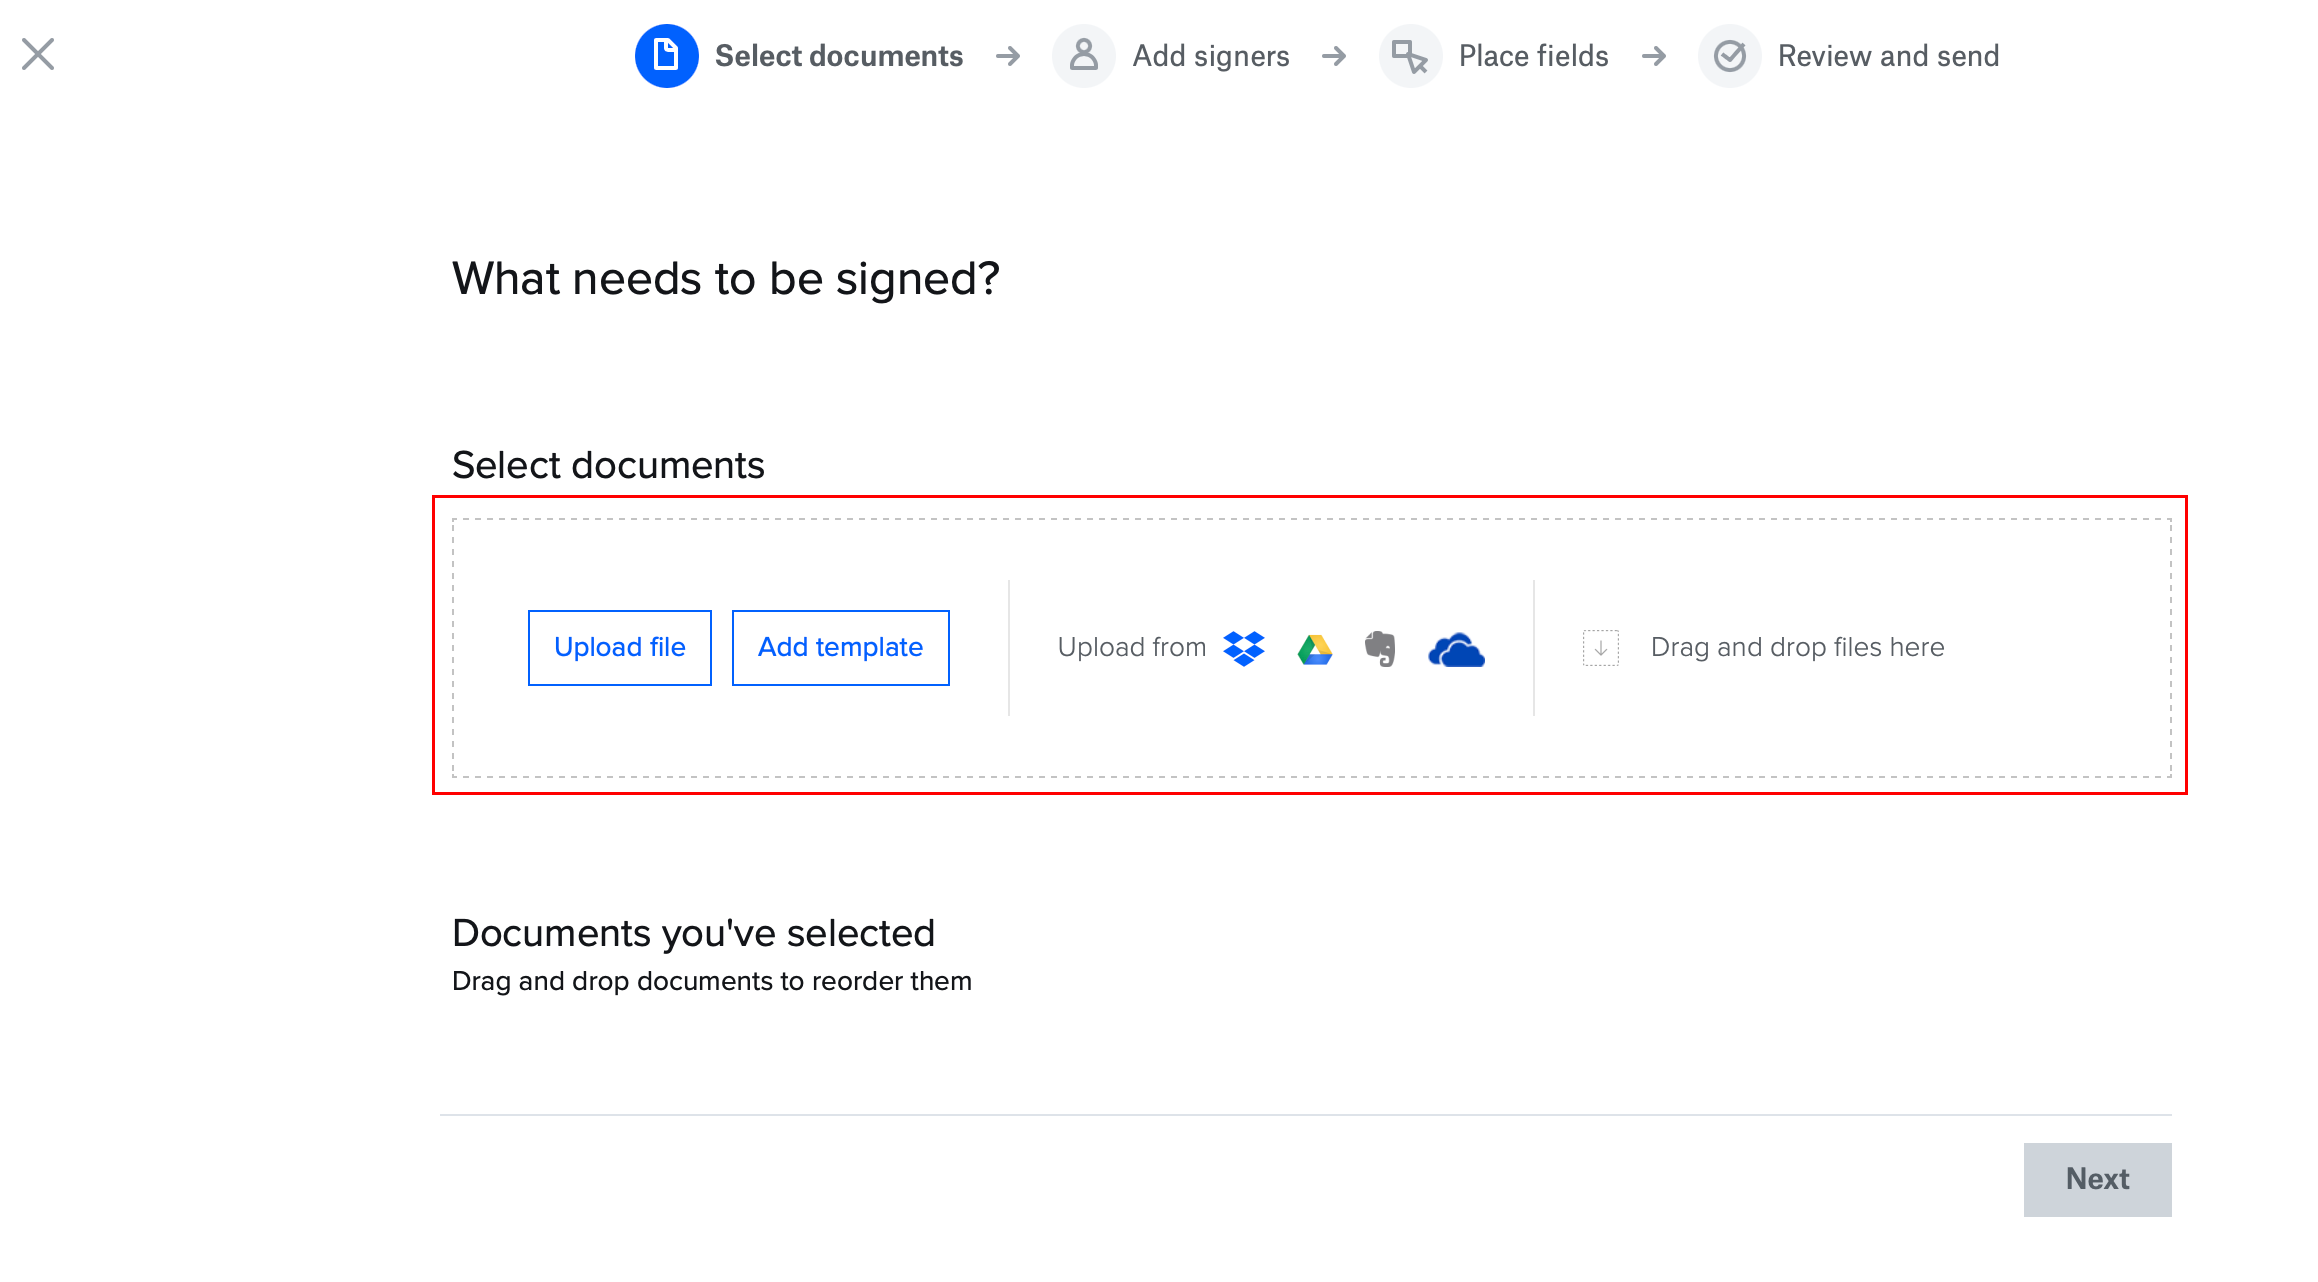
- To add files from your computer, click upload files and follow the prompts, or drag and drop the files where it says Drag and drop files here.
- To add files from a third-party application, click the icon of the application where your files are located and follow the prompt.
4. Click Next.
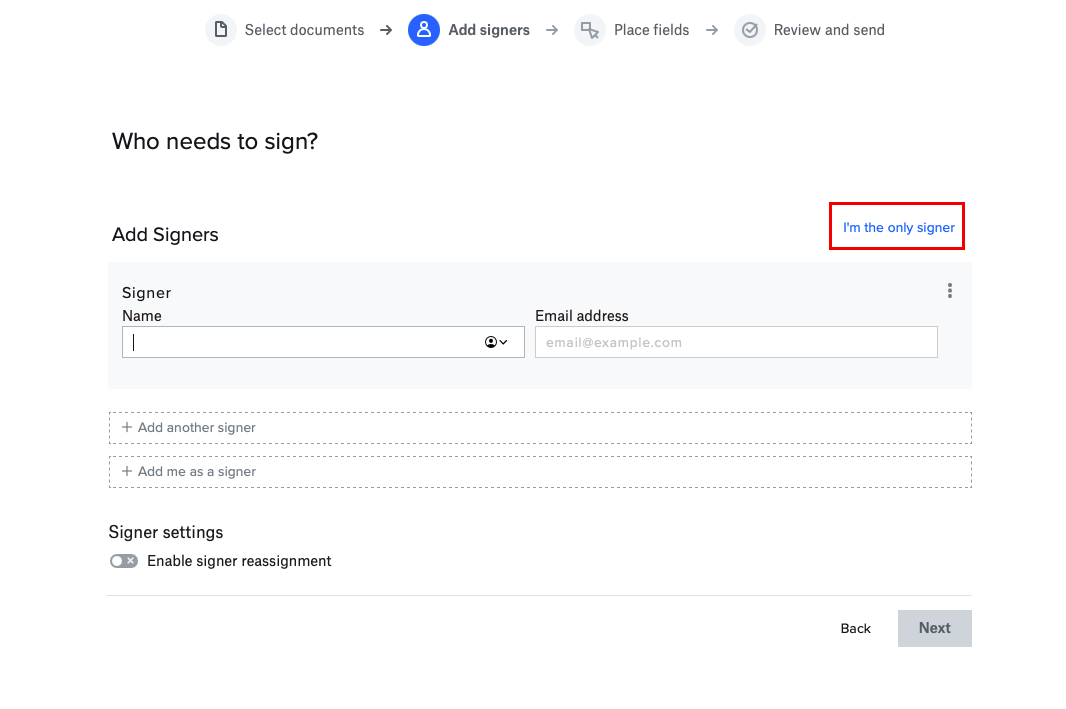
5. Click I’m the only signer.
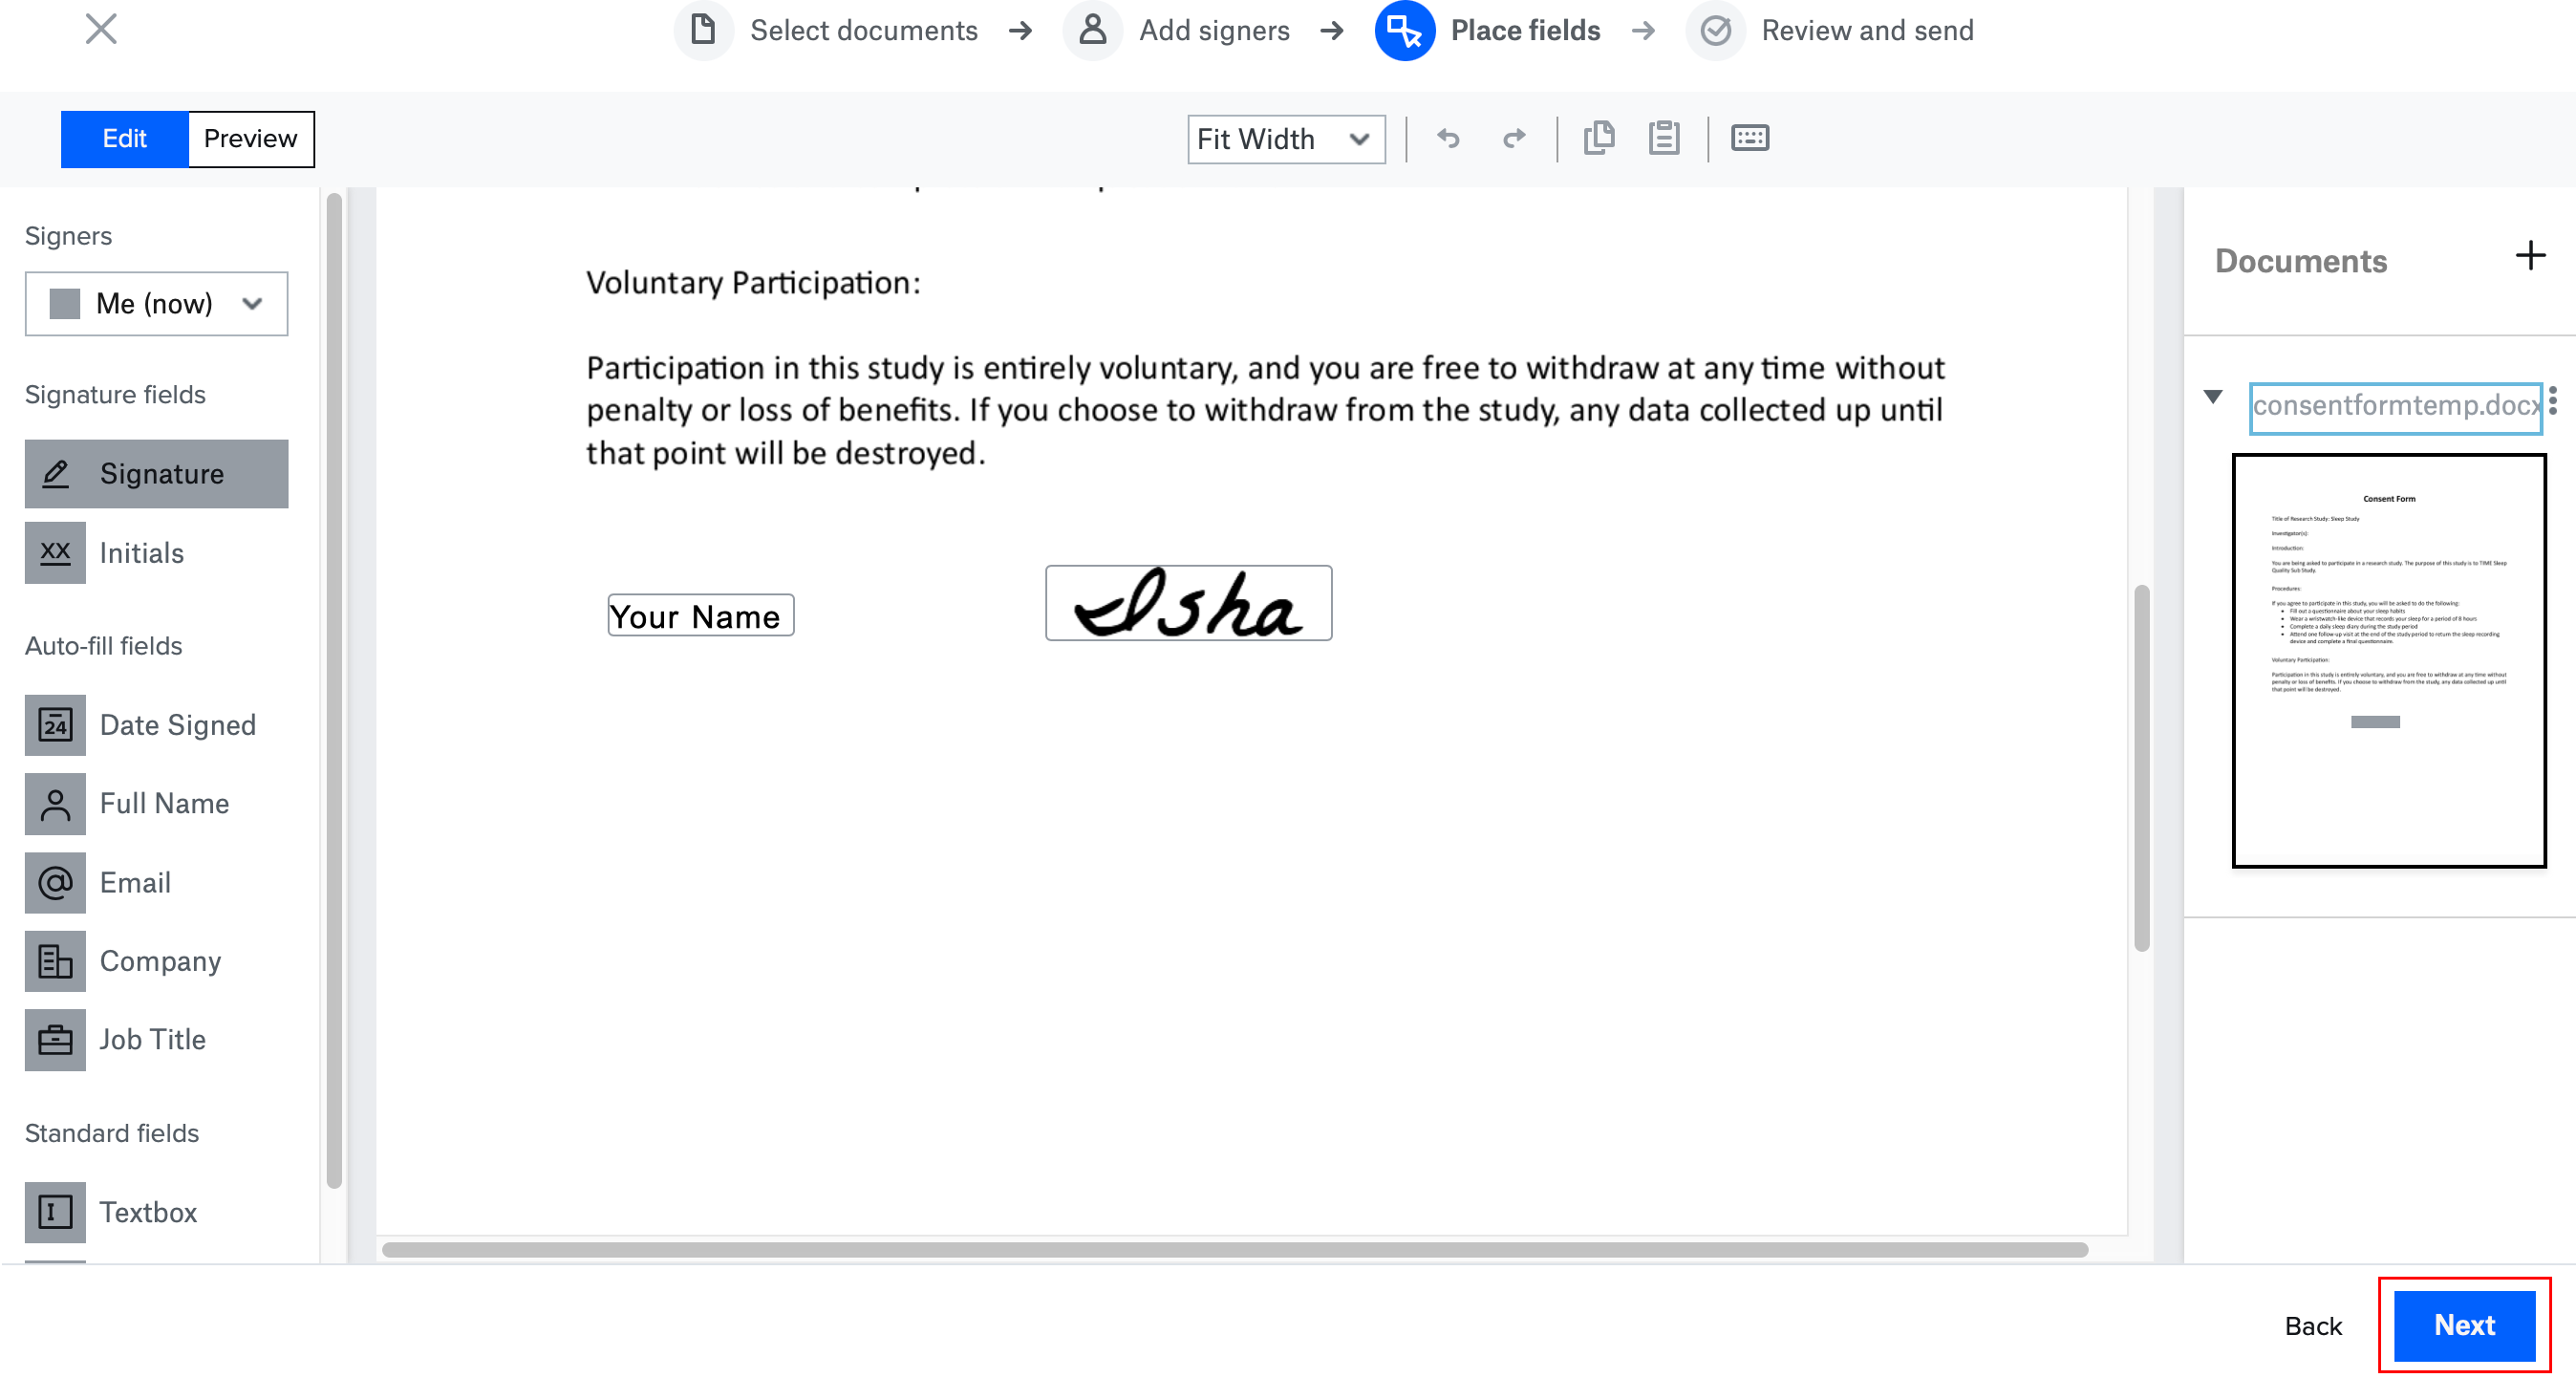
6. Drag and drop the appropriate fields to your document using the document editor. Note: When you add a signature or initials field, you will be automatically prompted to add your signatures or initials.
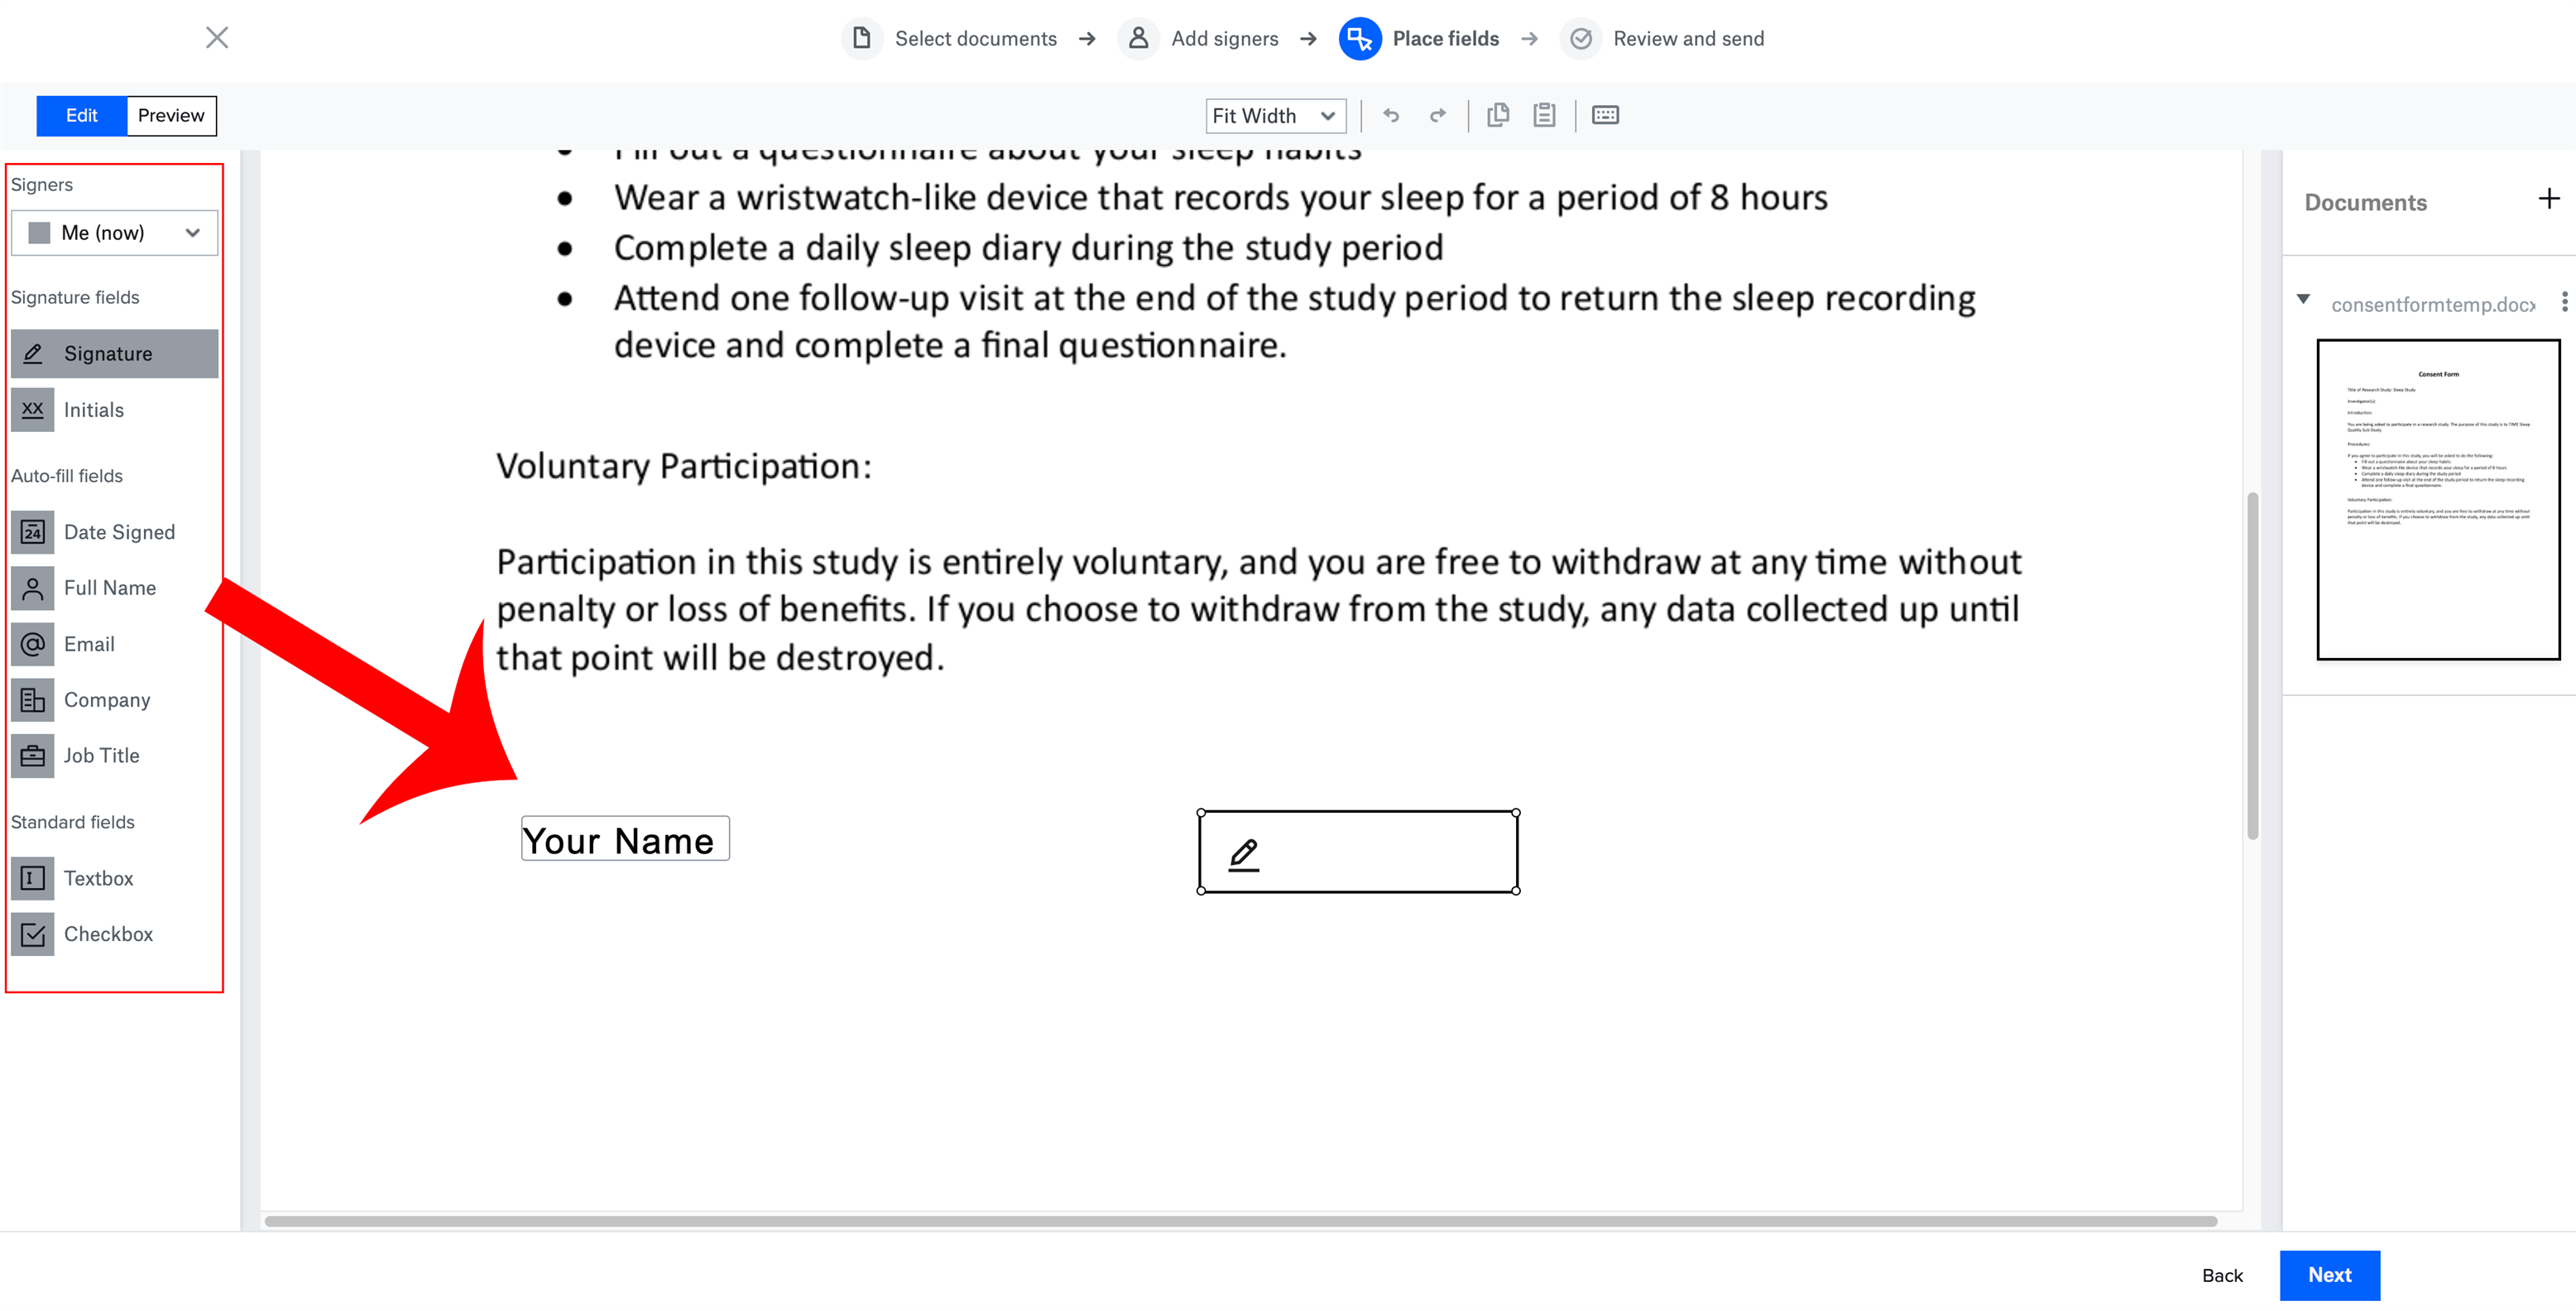
- When adding a signature field, a window will appear where you can select your signature. If you’ve never saved a signature, you can create it by drawing it on the screen using a mouse or touchpad.
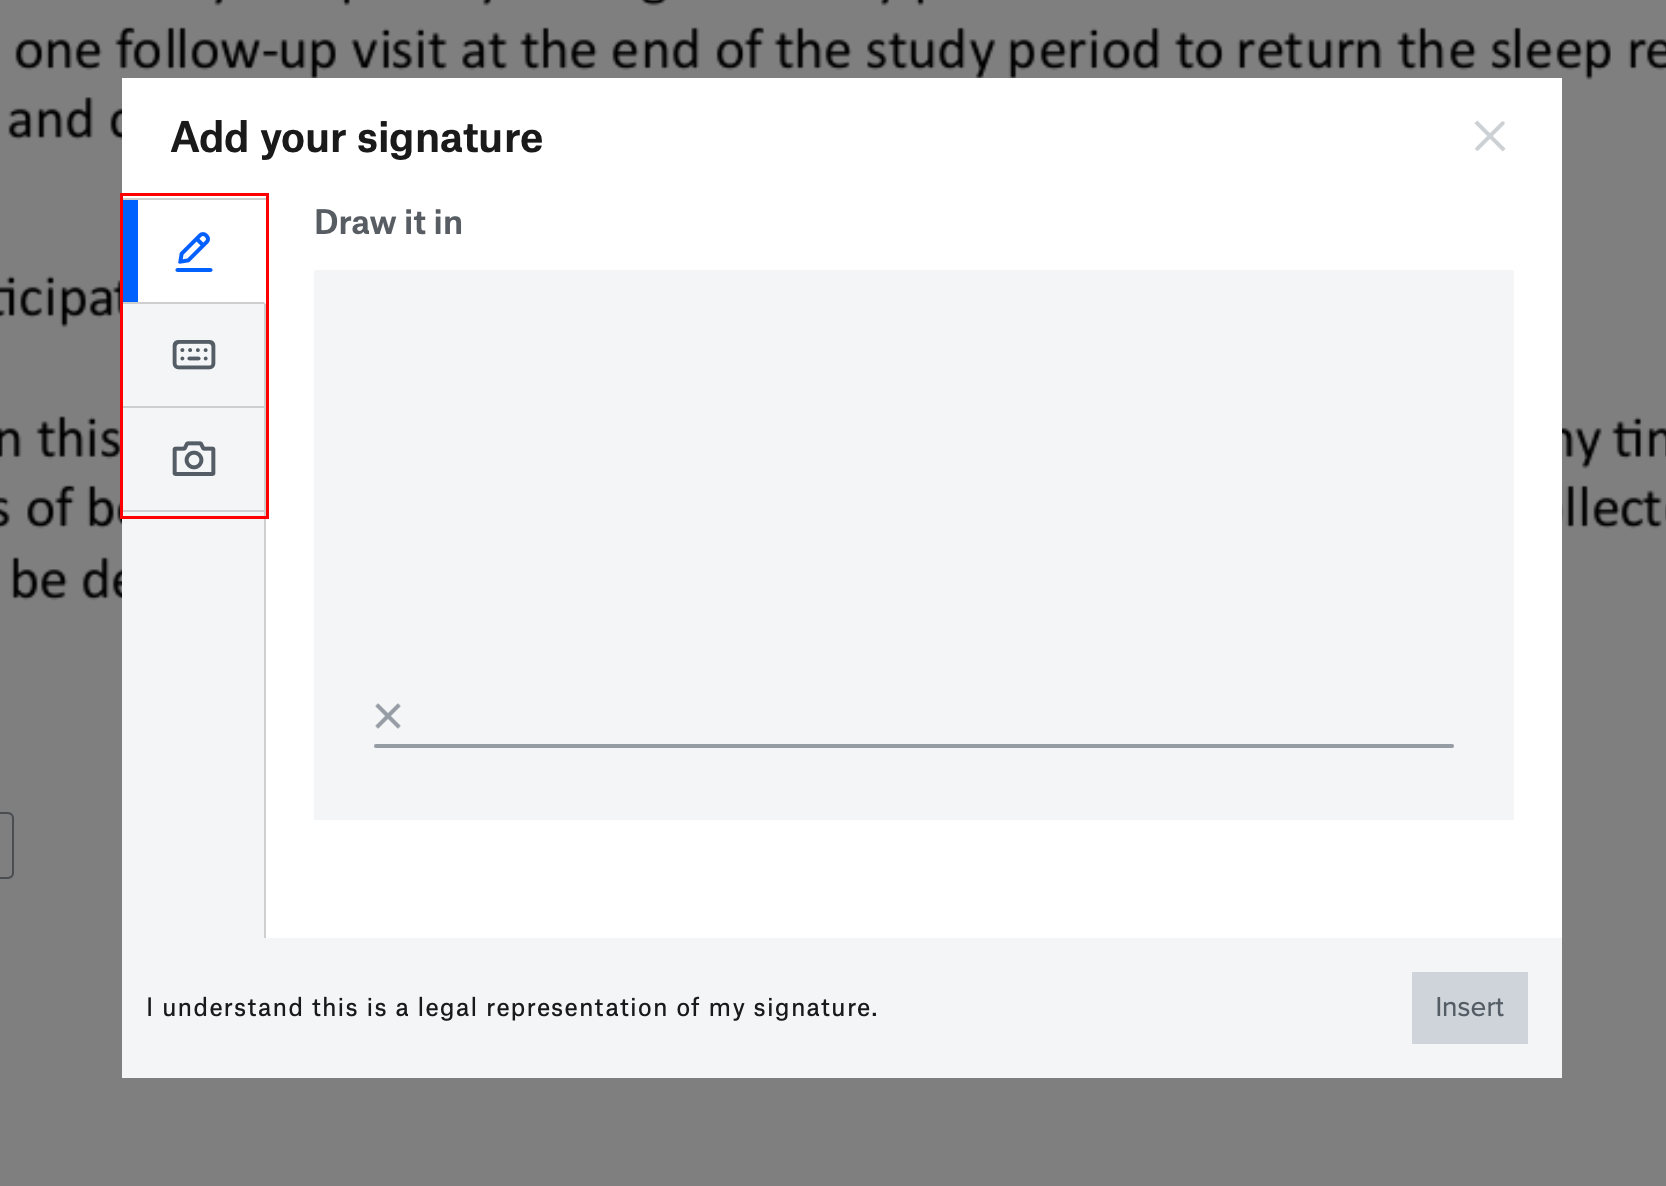
- You also have the option to your name and have Dropbox generate a signature using the keyboard.
- Additionally, you can upload a photo of your signature by clicking the camera icon.
7. Once you’re done adding the fields, click Next.
8. If you would like to download your signed document to your computer, click Download document.
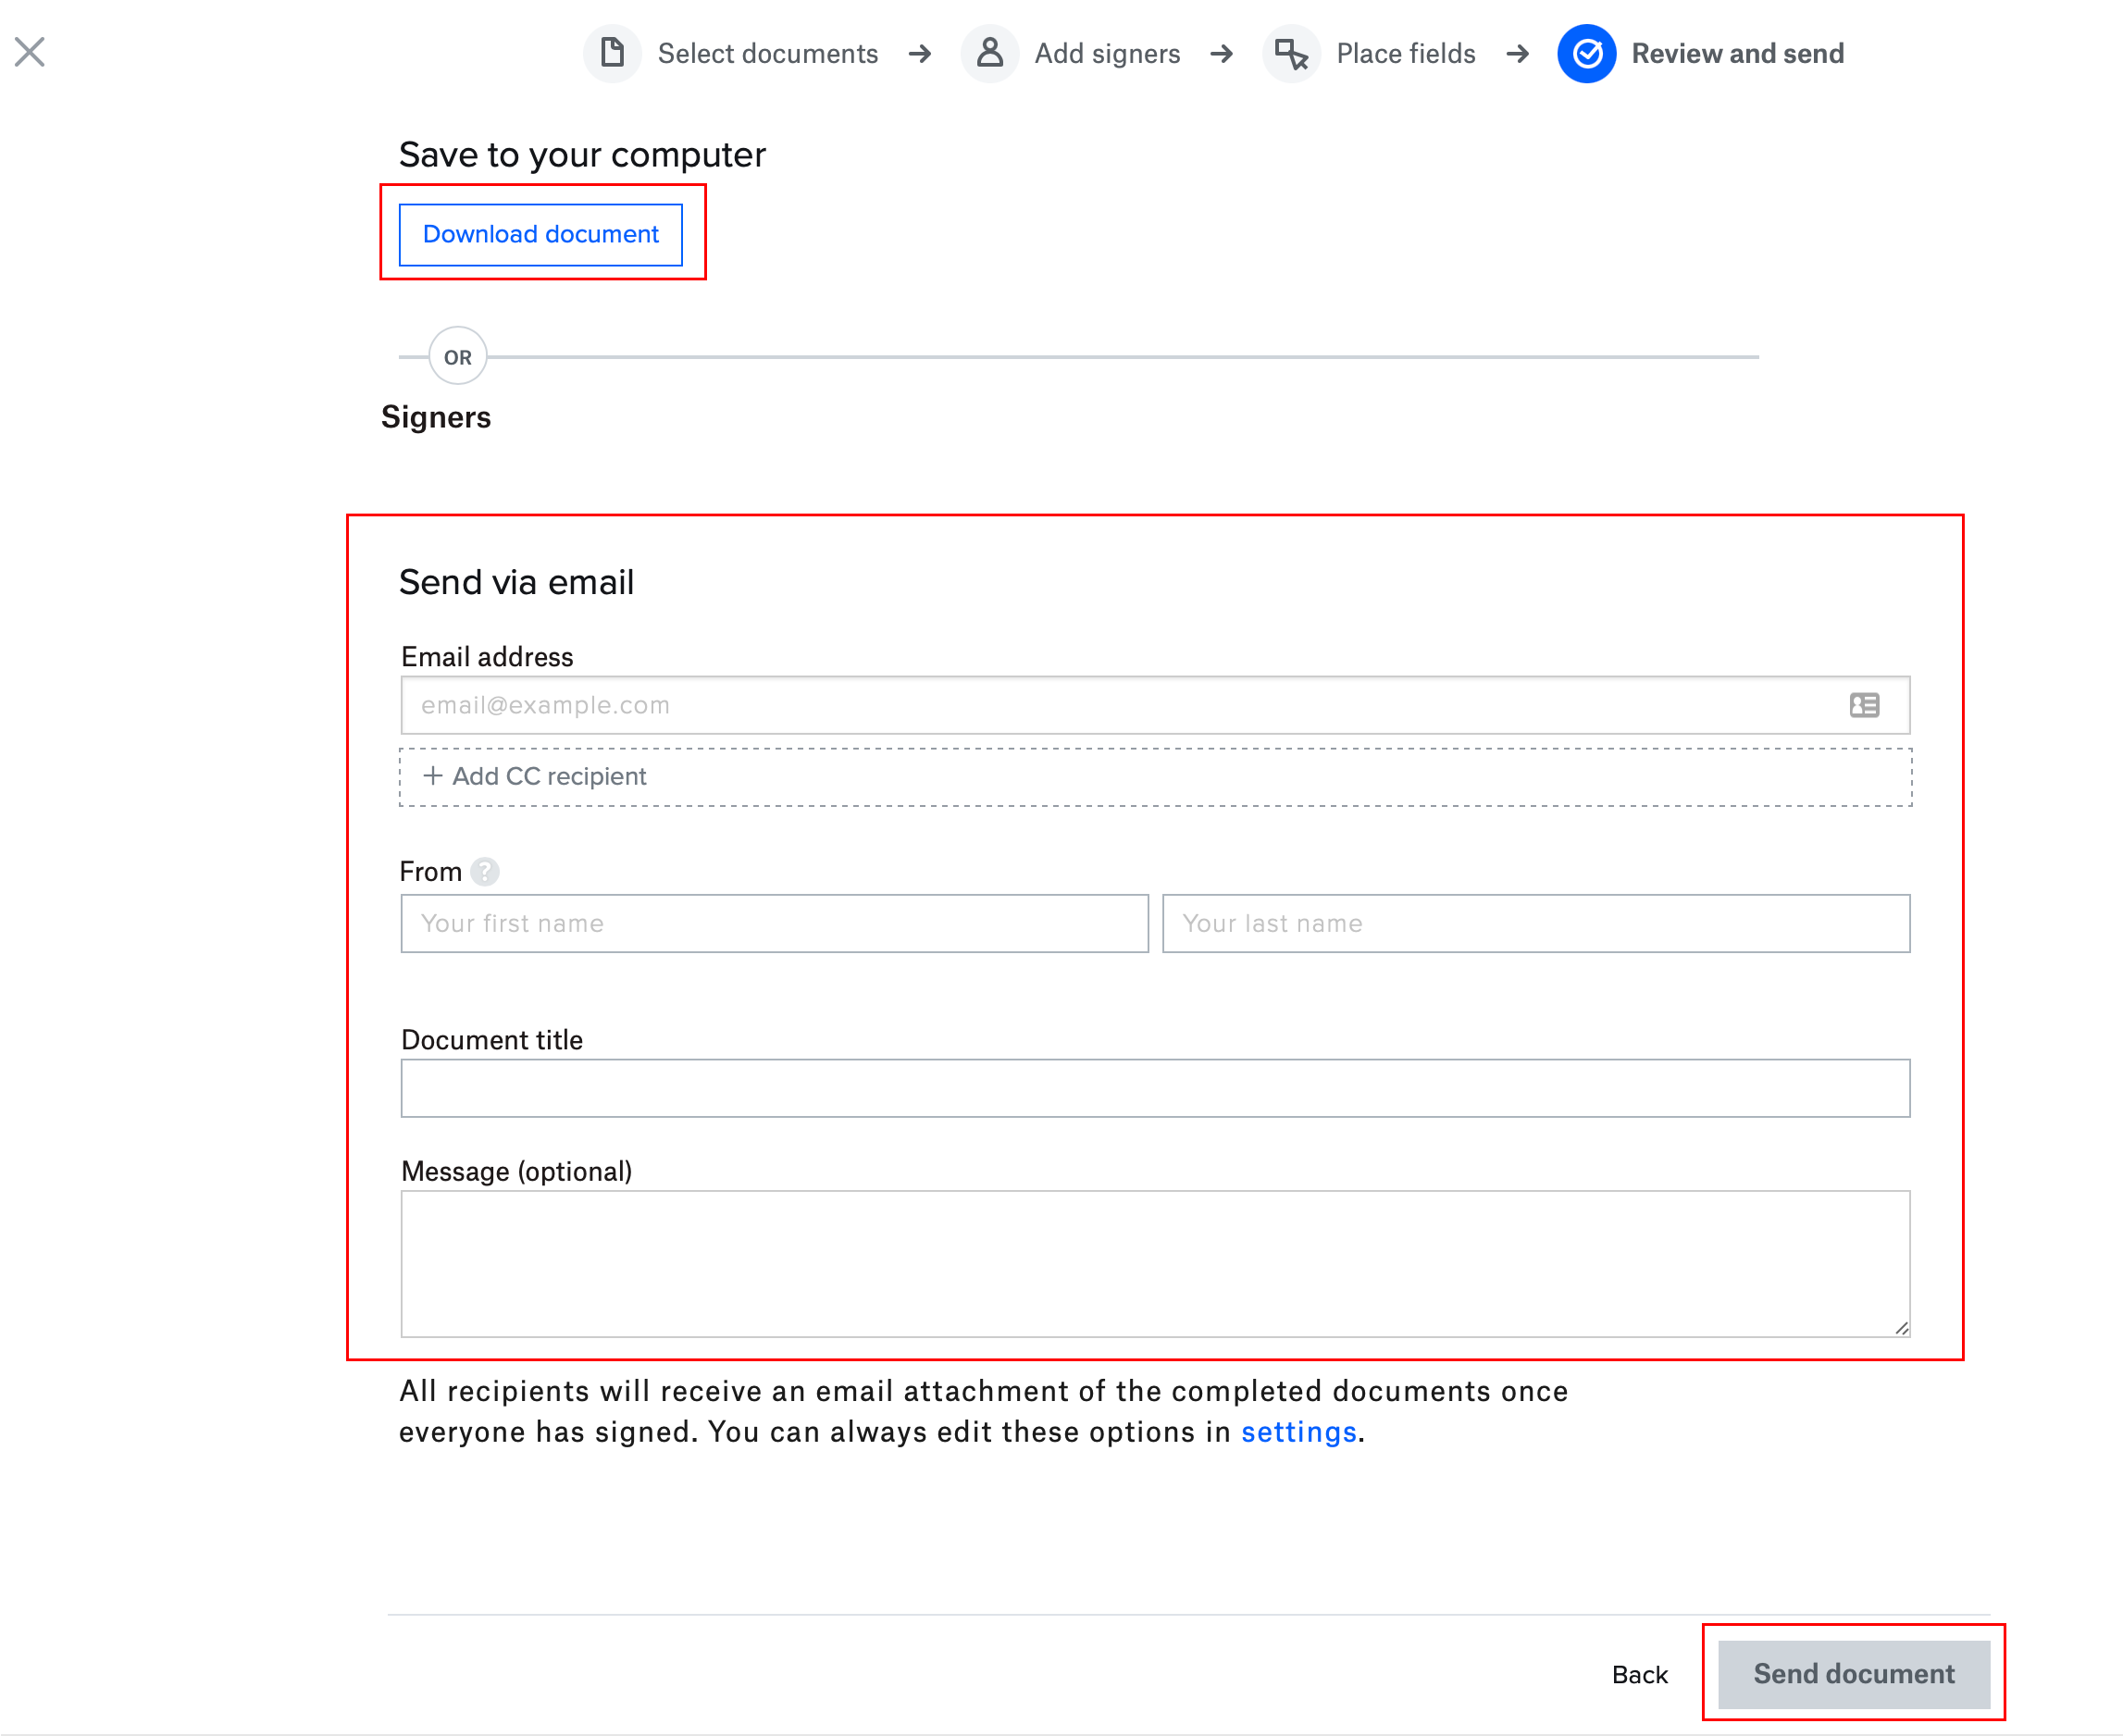
- To send your signed document via email, type the email address of the person you’d like to send it to, along with a document title and message, then click Send document.