How to prepare to develop and compile code for the NVIDIA Tesla
Follow the steps below to develop and compile code for the NVIDIA Tesla graphic processing units.
1. Log on to the Grid.
2. Start an interactive job. This will put you on a compute node. Never run jobs or compile on the head node Warrior. All GPU's are in the gpu QoS. In this example, we submit to the gpu QoS, request 2 GPU's, 2 cores, and v100 GPU's specifically. All nodes and their respective resources can be found on the Available Nodes page.
Type: srun -q gpu --gres=gpu:2 -n2 --constraint="v100" -t 10:0 --pty bash
Here is a breakdown of the 'srun' parameters used in this command:
- -q specifies the QoS. GPU's are the gpu QoS. This is a required parameter, your job request won't be submitted without it.
- --gres is the generic resources required per node. To ask for 3 GPU's it would be: --gres=gpu:3.
- -n is the total number of cores.
- --constraint is used to specify nodes with certain features, --constraint=<feature-name>. A tutorial on how to utilize constraints can be found here. In this example we are requesting nodes with v100.
- -t sets the maximum time limit. This is a required parameter, your job request won't be submitted without it.
- --pty bash requests an interactive job.

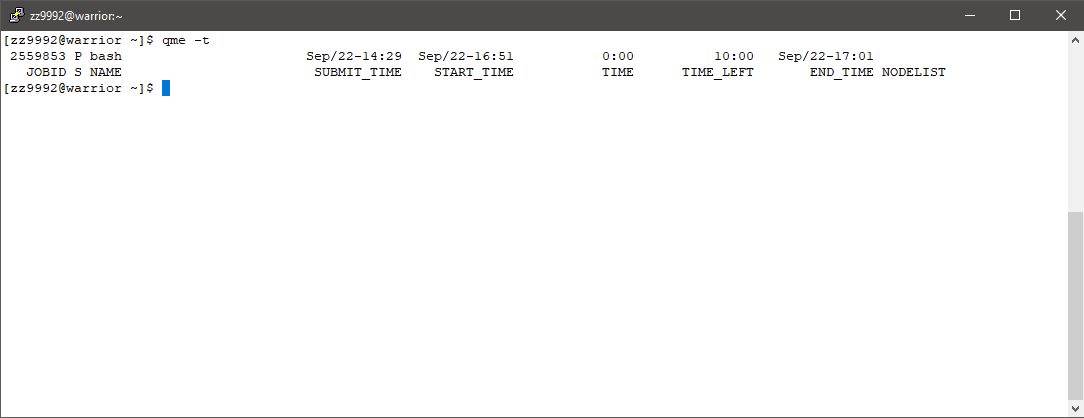
There may be a wait time to get allocated your requested resources. You can check the predicted start time of your job, or rather the latest time it could possibly run. Open a new window and log on to the Grid. Type: qme -t
3. Once your job has been allocated, load the cuda/10.0 module. Type: module load cuda/10.0
4. You can find the path for the modules. Type: which nvcc
5. From here you can create and compile programs. Once you are finished, you can exit the interactive job by typing exit or pressing Ctrl D.