How to Connect to the Grid Using Bitvise
Follow these steps to setup Bitvise and connect to the Grid.
1. Download Bitvise and install it on your machine.
2. Run Bitvise.
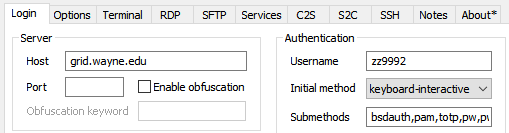
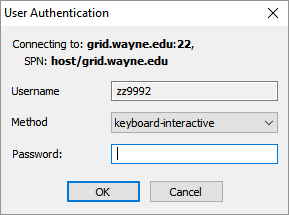
3. In the 'Login' tab, for 'Host' enter 'grid.wayne.edu'. For 'Username' enter your WSU AccessID. For 'Initial Method' select 'keyboard-interactive'.
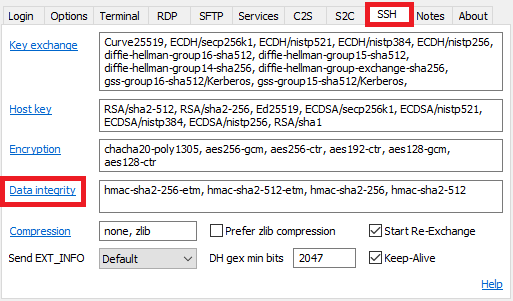
Go the 'SSH' tab and click Data Integrity.
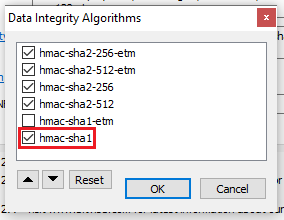
Check the box for 'hmac-sha1' and click OK.
4. Go back to the 'Login' tab (Step 3). Click Login at the bottom. Enter your password. Complete the Duo authentication when prompted.
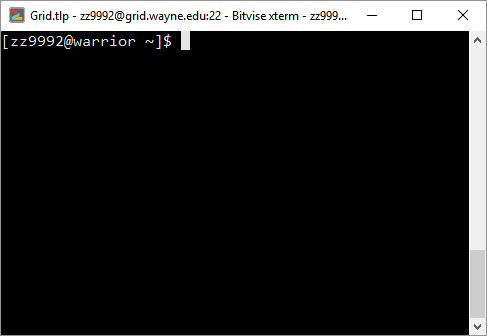
5. You are now logged onto the Grid.
A terminal will open
along with an SFTP window.
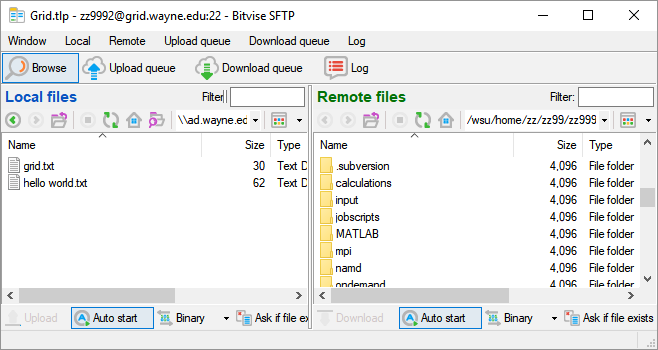
6. You can transfer files between your remote and local directories. The local file directory can be changed by selecting the browse folder button and selecting the desired folder.
![]()
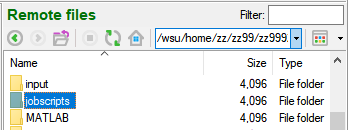
The remote directory can be changed by selecting the desired folder listed.
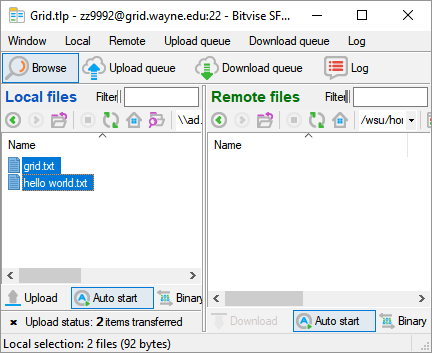
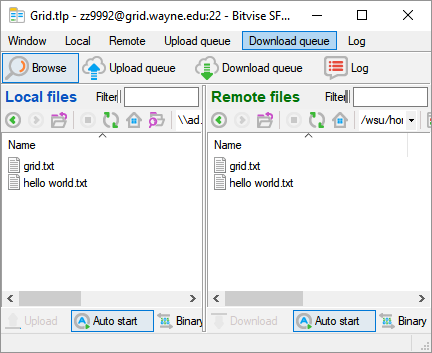
7. Files can be uploaded to the remote directory by selecting the desired files and dragging them to the remote files space.
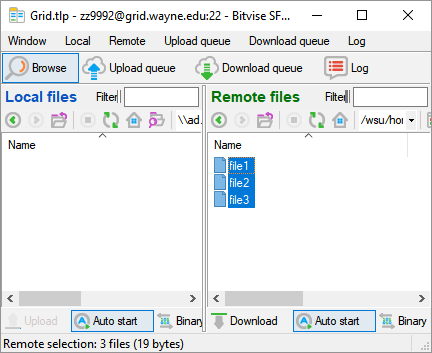
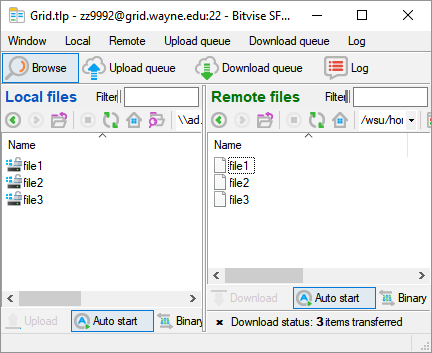
8. The same can be done to download files to the local directory. Select the desired files and drag and drop them into the local file space.
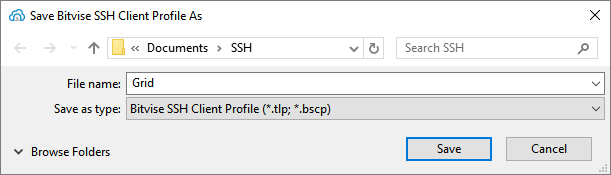
9. Your user profile can be saved to use in the future. Select Save Profile as.
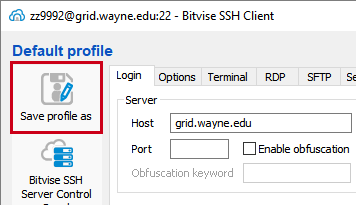
It is recommended to create a designated folder to save your profile in.
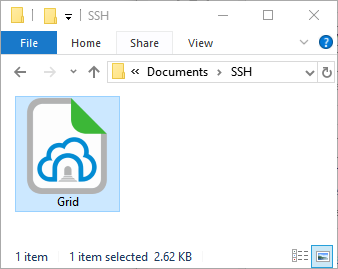
10. You can now load your profile two ways. You can simply click on the saved profile in the folder.
Or you can select Load Profile in Bitvise.
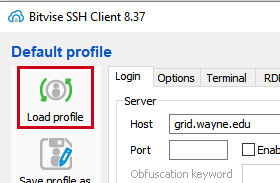
Both options will load your profile and open Bitvise to login.
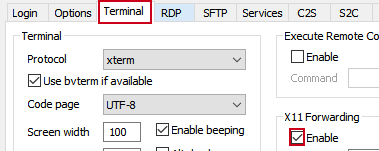
11. Bitvise can be configured to run X11. Go to the Terminal tab and click Enable under 'X11 Forwarding'.