How to create a Conda environment
This tutorial goes over how to create a Conda environment. Conda gives you the ability to create environments with packages and their dependencies that will be separate from other environments. When you begin using Conda, you will have a default environment named base. Keep this environment empty of any programs and create separate environments to keep your programs isolated from each other.
1. Log on to the Grid.
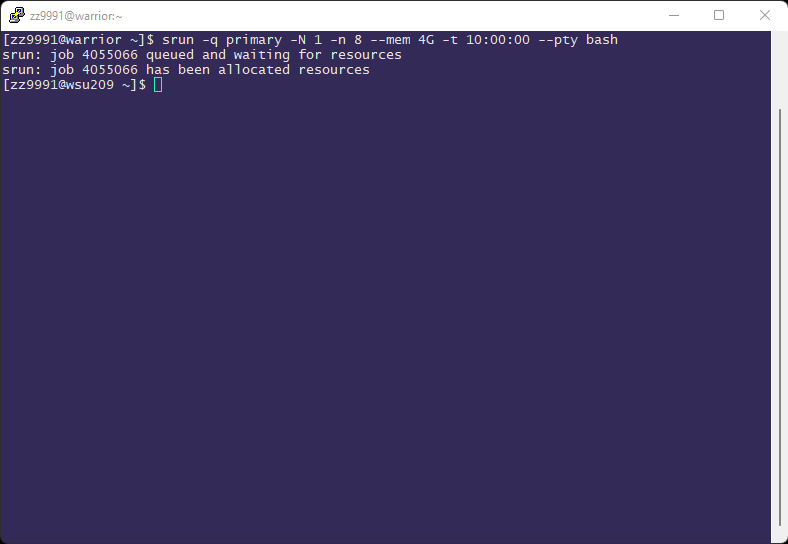
2. Start an interactive job. No processes, compiling, or jobs should run on the head node Warrior.
Type: srun -q primary -N 1 -n 8 --mem 4G -t 10:00:00 --pty bash
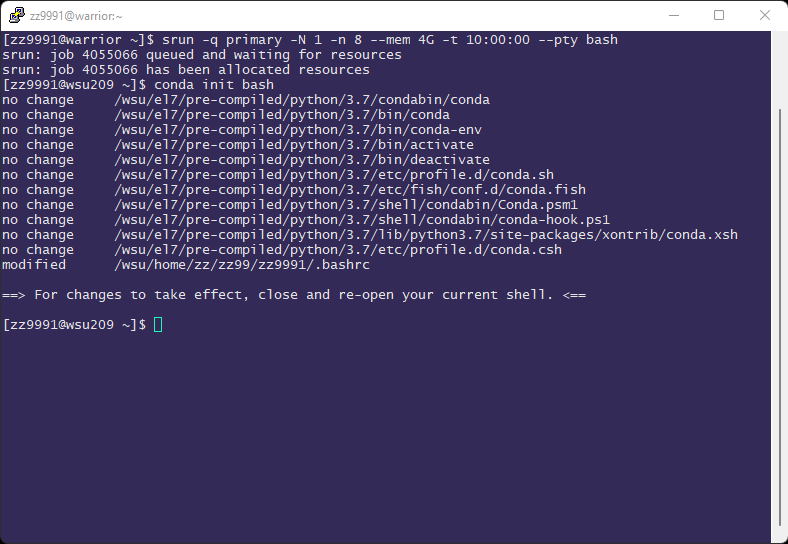
3. If this is your first time using Conda, you need to initialize your shell with it.
Type: conda init bash
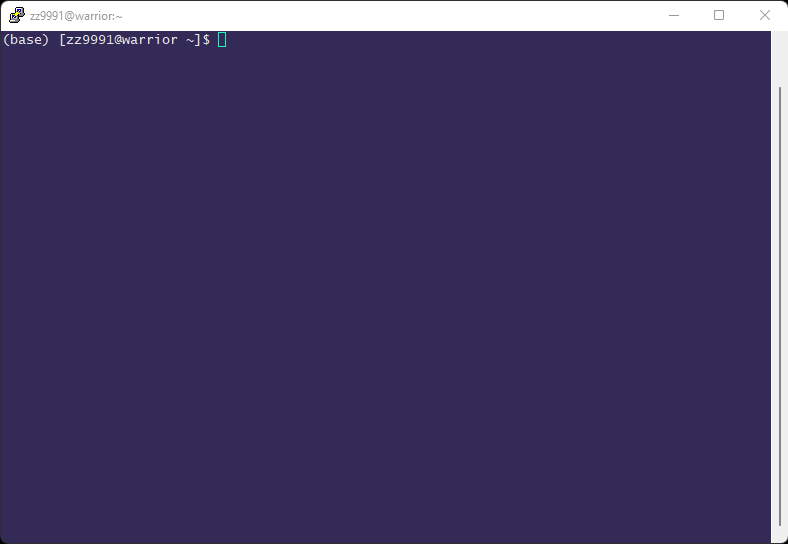
4. Restart your shell for the changes to take effect: exit the interactive job and log out. Log on to the Grid again.
You'll notice the '(base)' indicating you are in your default 'base' environment.
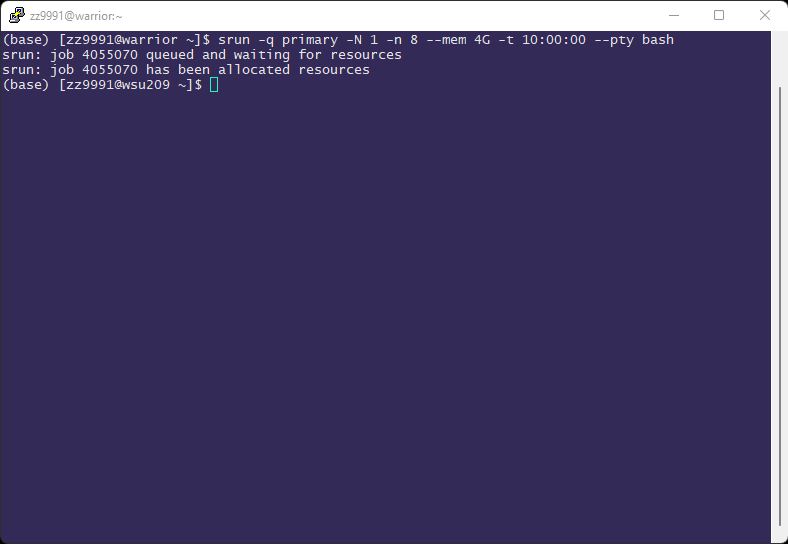
Start an interactive job again: srun -q primary -N 1 -n 8 --mem 4G -t 10:00:00 --pty bash
5. Create an environment. In this example, we're creating an environment named myenv.
Type: conda create -n myenv
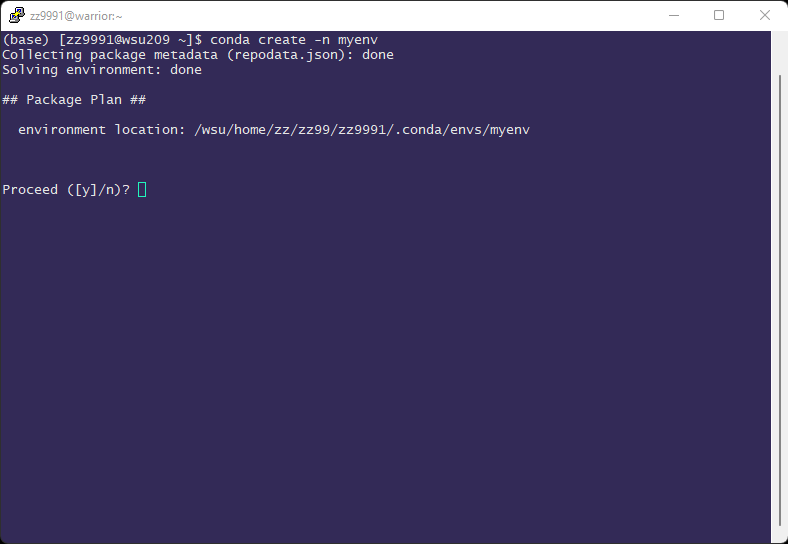
Enter y to proceed.
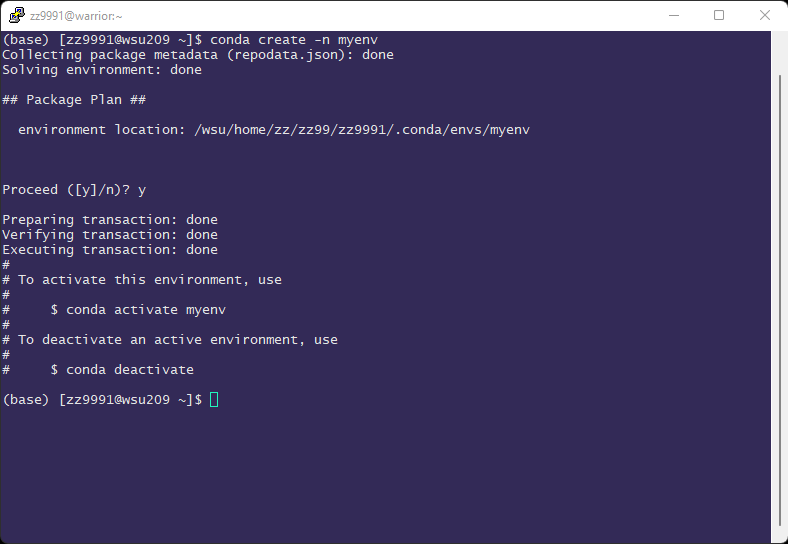
This creates the myenv environment in /envs/. There will be no programs installed in this environment.
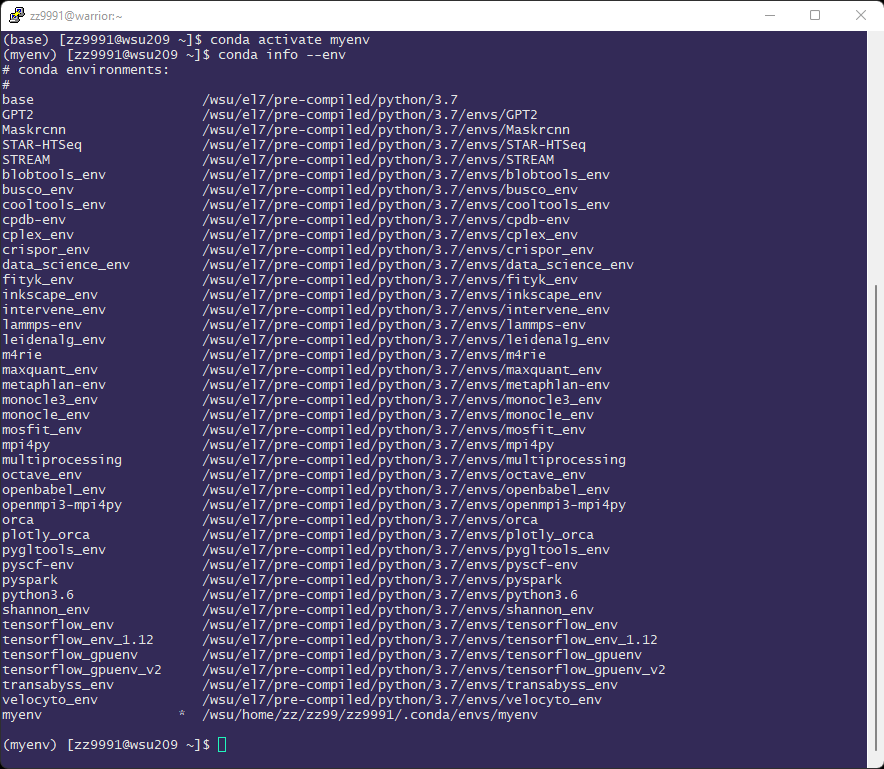
5. Activate the environment.
Type: conda activate myenv To exit an environment, you'd enter conda deactivate.

You are now in the environment myenv. To see a list of all your environments, use conda info --env. The active environment has an asterisk after the name.
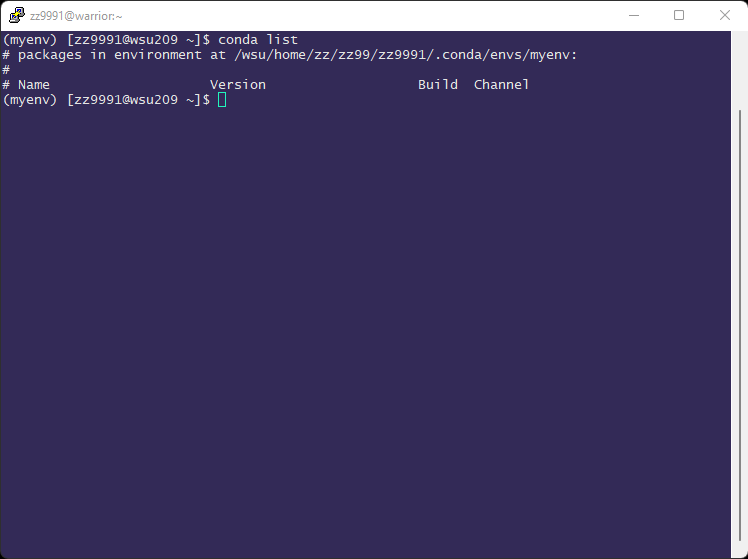
To see a list of all packages installed in your environment use conda list. This example environment will be empty.
7. From here, you can install packages using conda install.
For example, we can install pip. Type: conda install pip
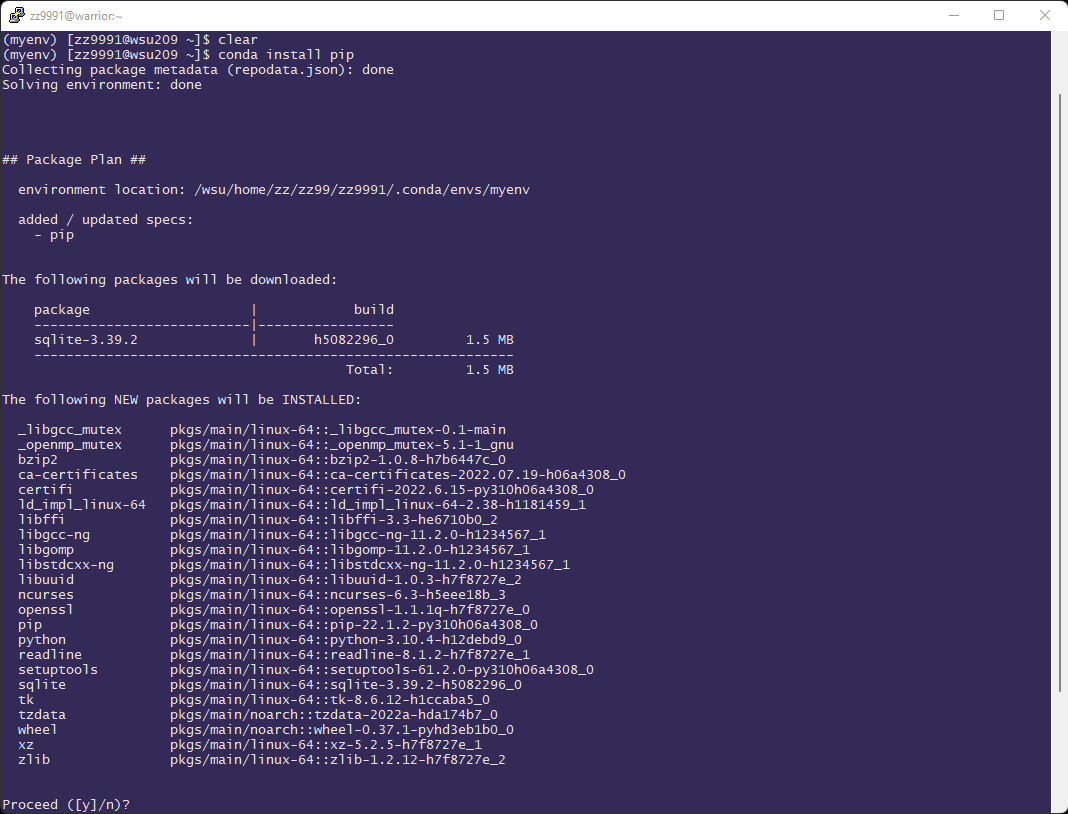
Enter y to proceed. Pip will be installed with all its dependencies. Check to see if the package is installed. Type: conda list
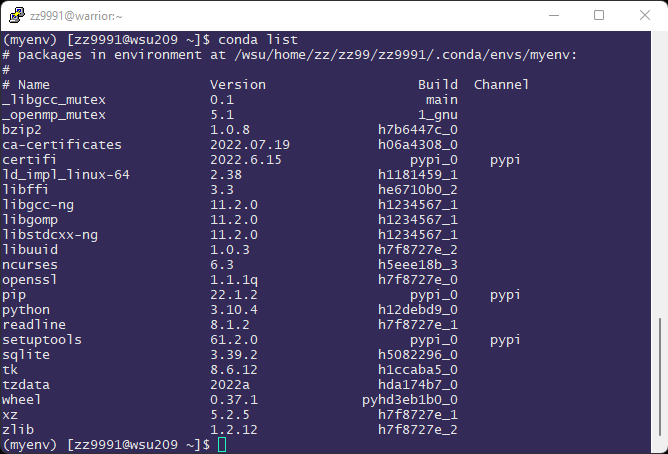
You'll see that pip is installed along with the other packages it required.
6. You can create an environment with a specific version of Python, a specific package, or even a specific version of a package.
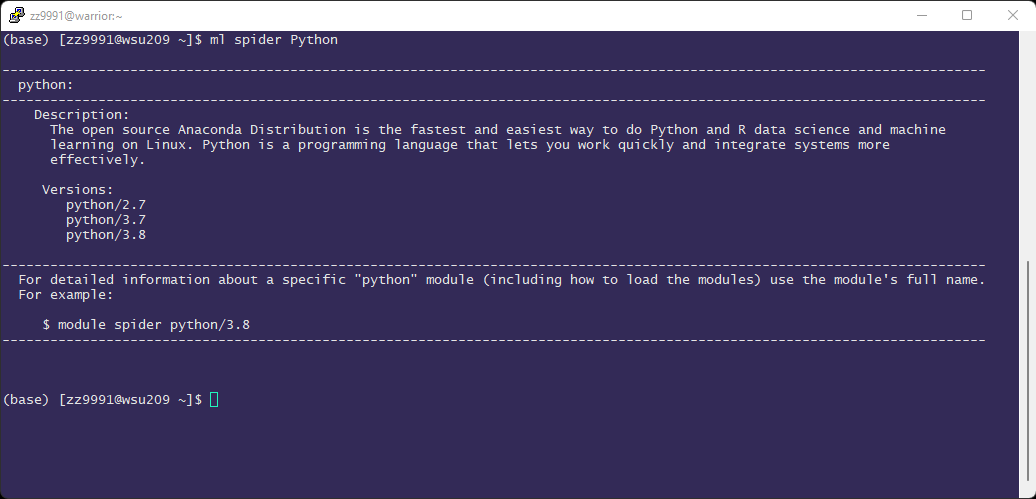
The Grid has multiple versions of the Python module. Check to see which are available using: ml spider Python
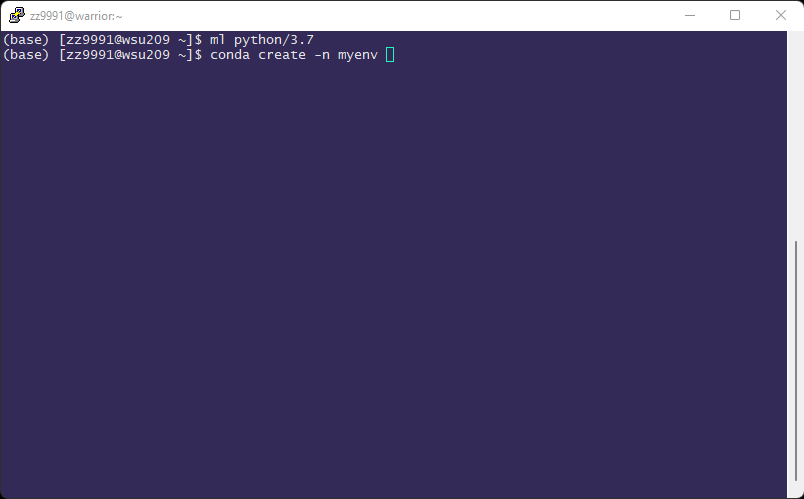
To create an environment with a specific Python module, load that module first with the following command and then create the environment: ml python/3.7
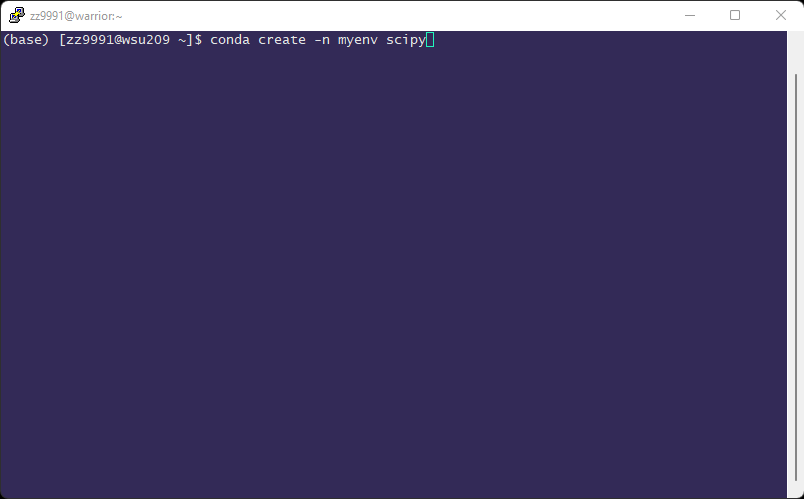
To create an environment with a specific package: conda create -n myenv scipy
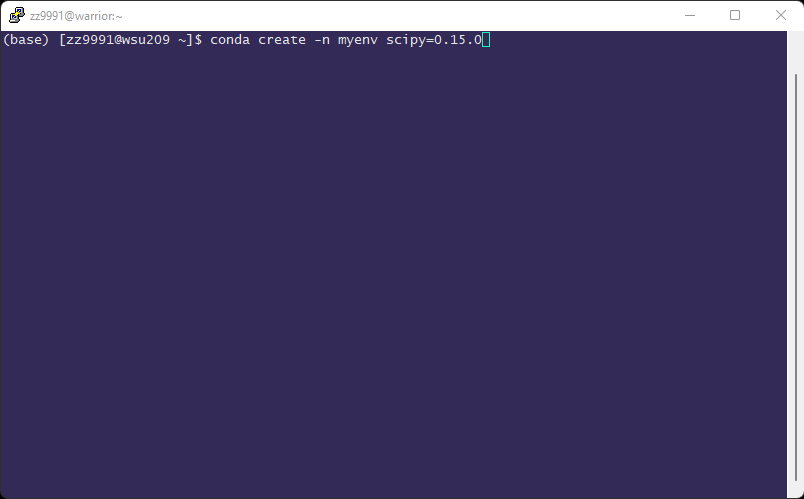
To create an environment with a specific version of a package: conda create -n myenv scipy=0.15.0
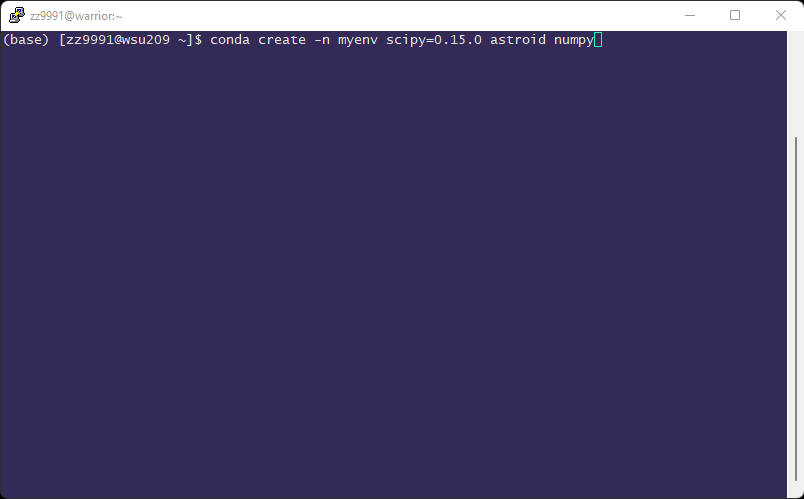
To create an environment with multiple packages: conda create -n myenv scipy=0.15.0 astroid numpy
7. To use a conda environment non-interactively in a script, you need to initialize the shell it creates for conda. This is because non-interactive shells don't read your .bashrc. You can either source your .bashrc or use conda init bash.
Here is a sample script:
!/bin/bash
#SBATCH --job-name Conda
#SBATCH -q secondary
#SBATCH -N 1
#SBATCH -n 20
#SBATCH --mem=15G
#SBATCH --mail-type=ALL
#SBATCH --mail-user=xxyyyy@wayne.edu
#SBATCH -o output_%j.out
#SBATCH -e errors_%j.err
#SBATCH -t 1-0:0:0
#
# Initialize conda with either of the following options:
# 1. Source your .bashrc
#source /wsu/zz/zz99/zz9992/.bashrc
# 2. Use the conda init bash command
#conda init bash
# Activate your conda env
#conda activate myenv
#
# Then run any relevant commands or programs