How to Run Pyspark with Jupyter Notebook OnDemand
Follow these steps to run Pyspark with Jupyter Notebook OnDemand.
Watch the video tutorial here!
1. In order to connect to Grid OnDemand you must use the Wayne State University (WSU) Virtual Private Network (VPN). If you already have it configured, connect to the WSU VPN and proceed to step two. If not, follow the link to the tutorial here to download PaloAlto GlobalProtect to connect it.
Note: If you have a desktop with a static IP, you can request to have it whitelisted by emailing us at hpc@wayne.edu.
2. Open a browser window for Chrome or Firefox. OnDemand is only supported through these browsers. Go to: https://ondemand.grid.wayne.edu
3. On the homepage, select Login to OnDemand.
![]()
You will be prompted with a login window.
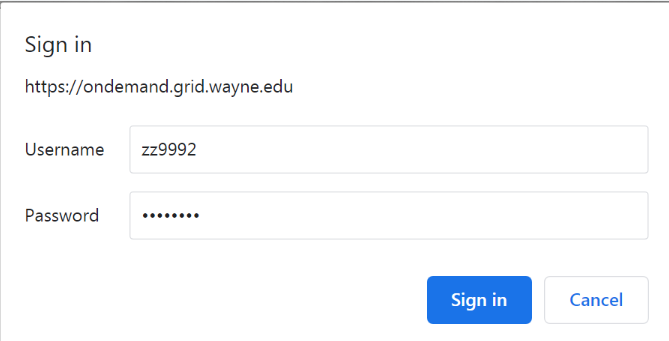
Enter your AccessID and password. Click Sign In.
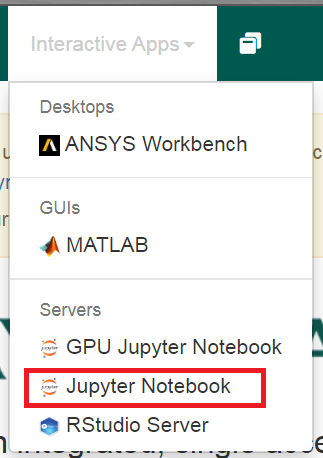
4. In the toolbar, go to Interactive Apps and select Jupyter Notebook.
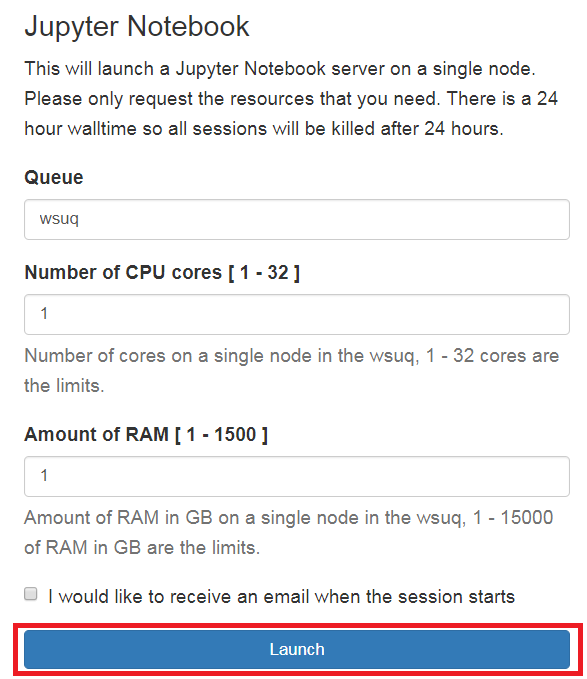
5. Select the desired queue, number of CPU cores, and amount of RAM. Select Launch.
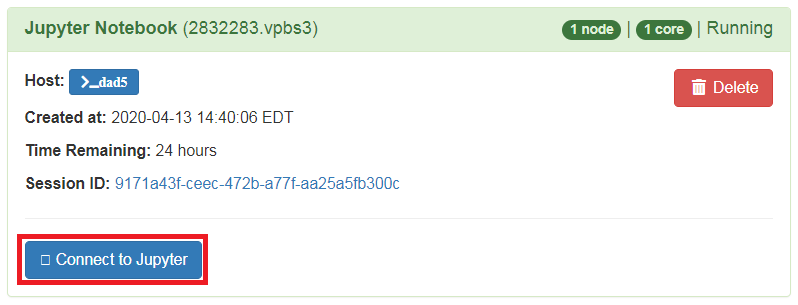
6. Once the job starts running, select Connect to Jupyter.
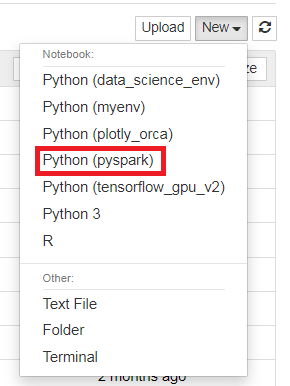
7. A new tab will open for Jupyter Notebook. Click New and select Python (pyspark).
8. You can now enter your code.
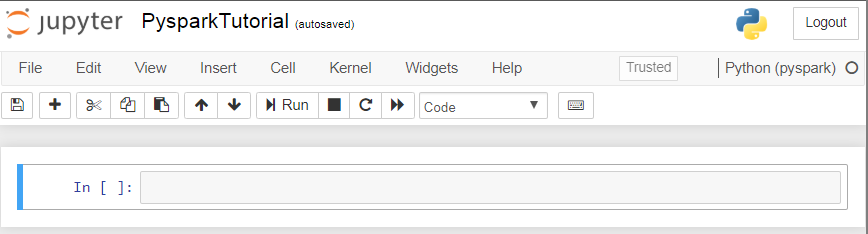
Here is a sample code:
import pyspark
import random
try:
# Python 2
xrange
except NameError:
# Python 3, xrangeis now named range
xrange = range
if not 'sc' in globals():
sc =pyspark.SparkContext()
NUM_SAMPLES = 1000000
def sample(p):
x,y =random.random(),random.random()
return 1 if x*x +y*y < 1="" else="">
count = sc.parallelize(xrange(0, NUM_SAMPLES)) \
.map(sample) \
.reduce(lambda a, b: a + b)
print("Pi is roughly %f" % (4.0 * count /NUM_SAMPLES))\
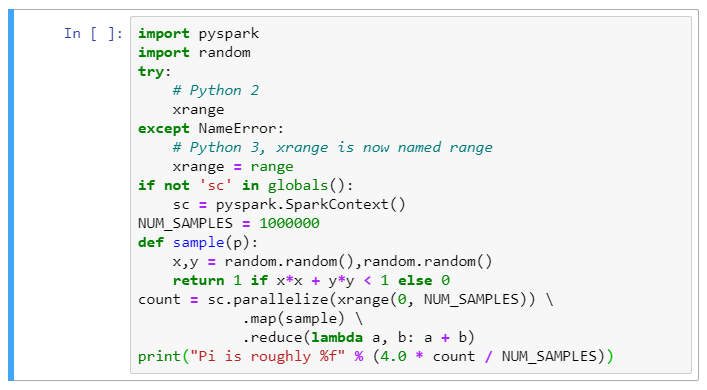
9. Select Run.
![]()